Disclaimer: I am a consultant at Amazon Web Services, and this is my personal blog. The opinions expressed here are solely mine and do not reflect the views of Amazon Web Services (AWS). Any statements made should not be considered official endorsements or statements by AWS.
In this post, we will understand how can we create a DynamoDB table in the AWS cloud and connect it with an ASP.NET Core application to perform CRUD operations.
We will be using the below tools and frameworks in this post going forward.
Login to your AWS account, and search for DynamoDB. On the DynamoDB page, select Tables > Create Table as shown in the below picture.

In this demo, we are creating a products table with the following information.
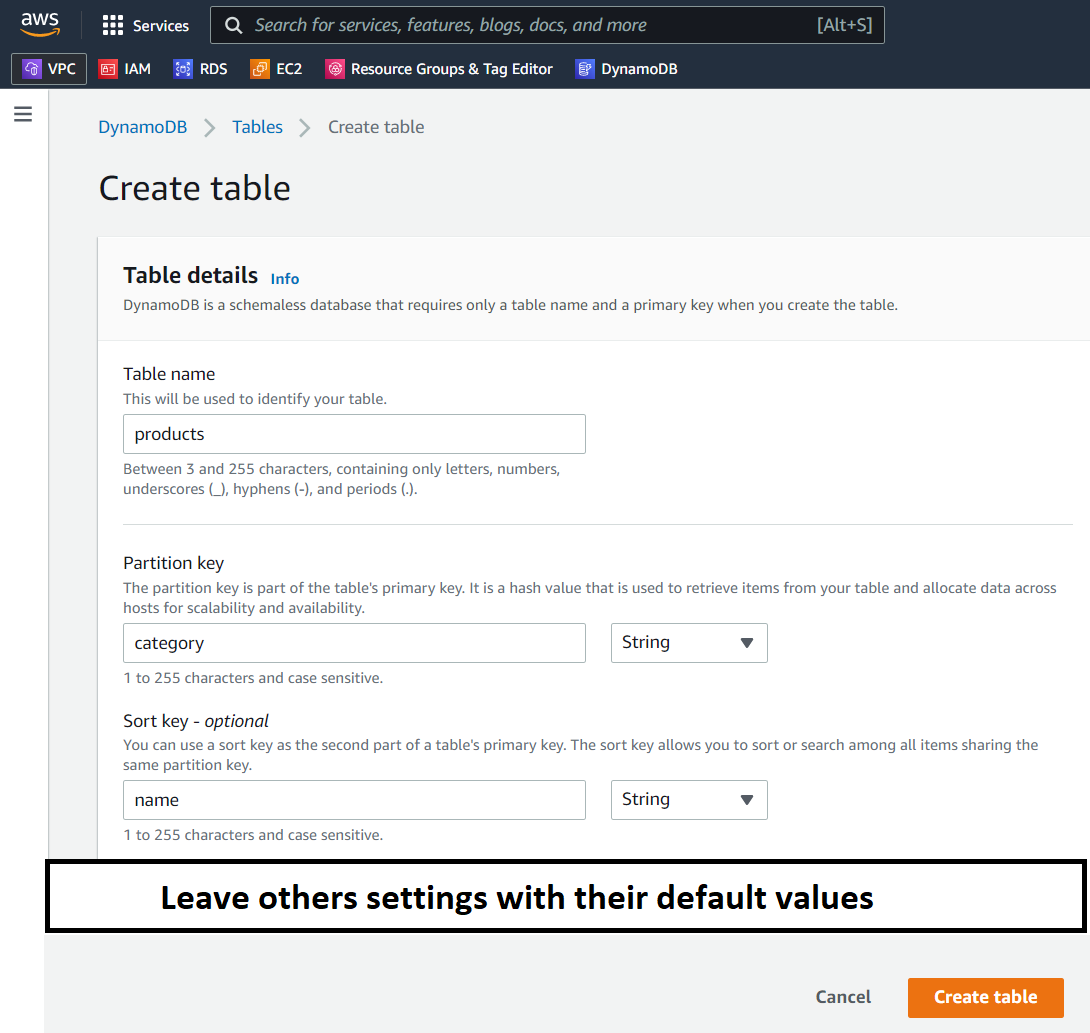
In DynamoDB, we can have 2 types of primary keys.
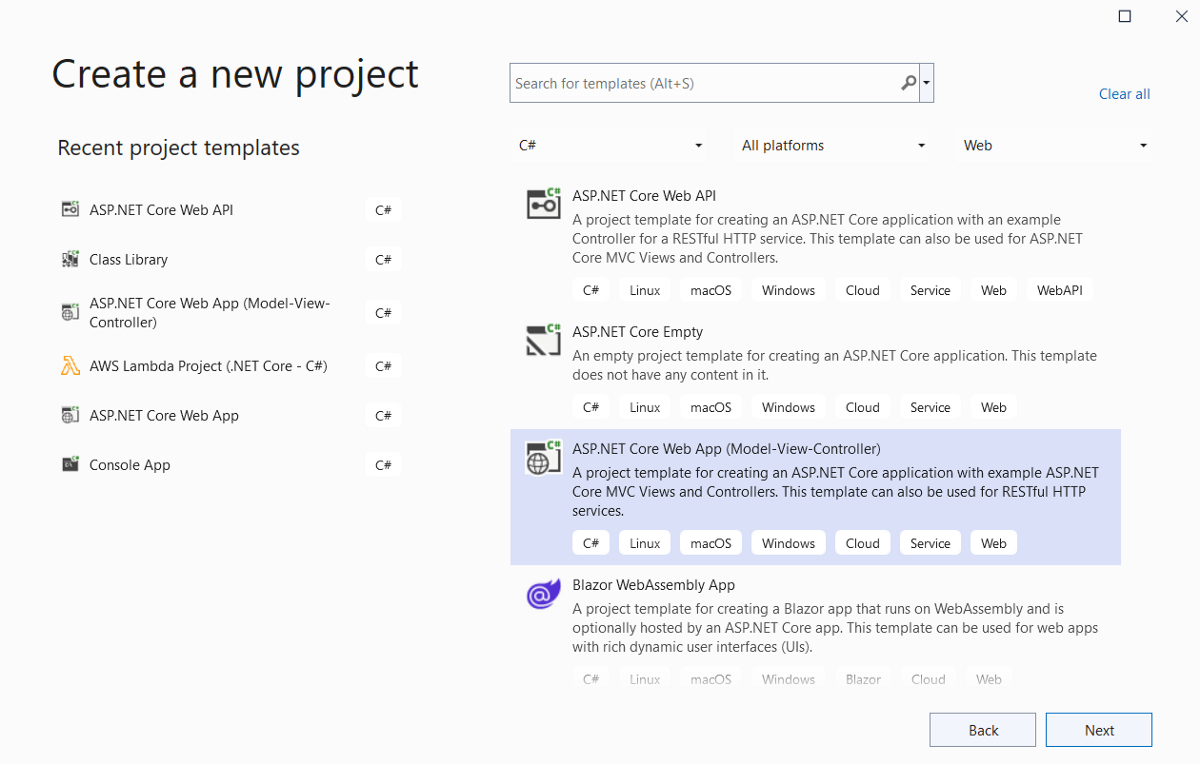
Go to visual studio, create an ASP.NET Core project of your choice. Here, I will be creating an ASP.NET Core MVC application.
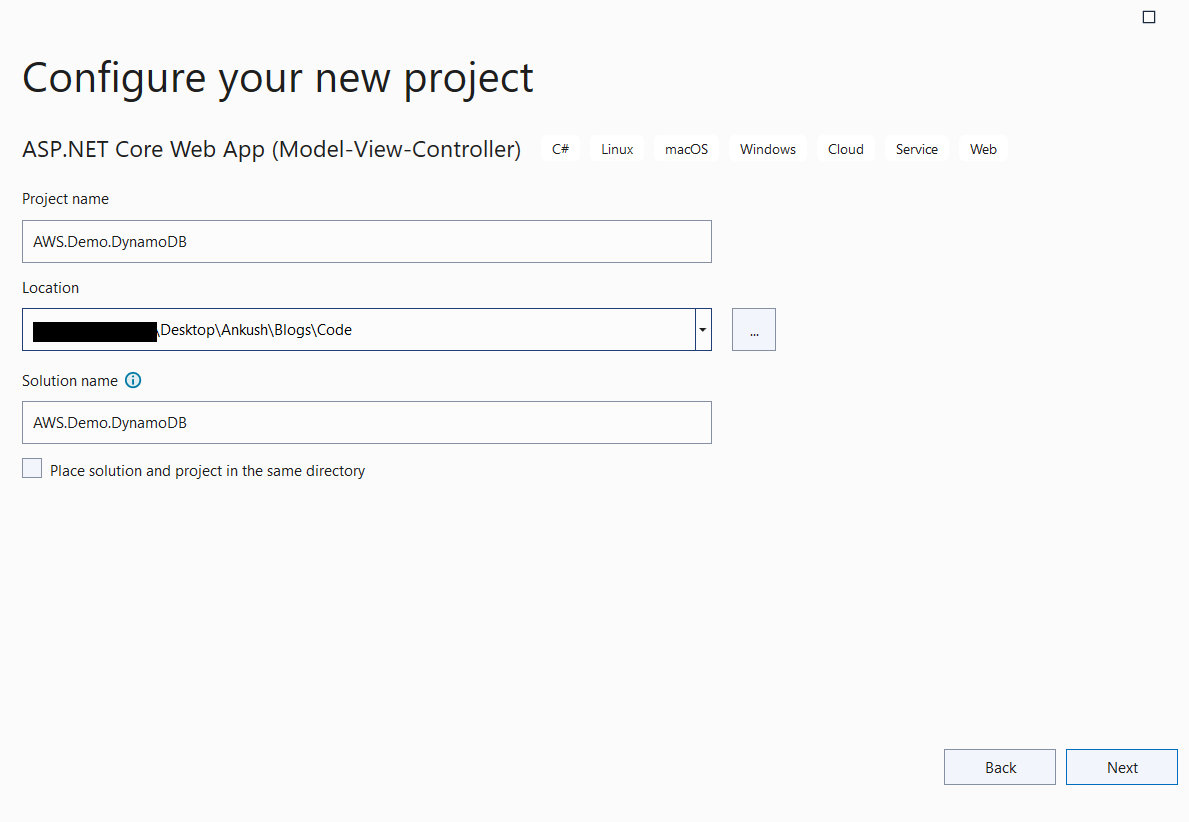
Provide some additional information such as your project name, project location, etc.
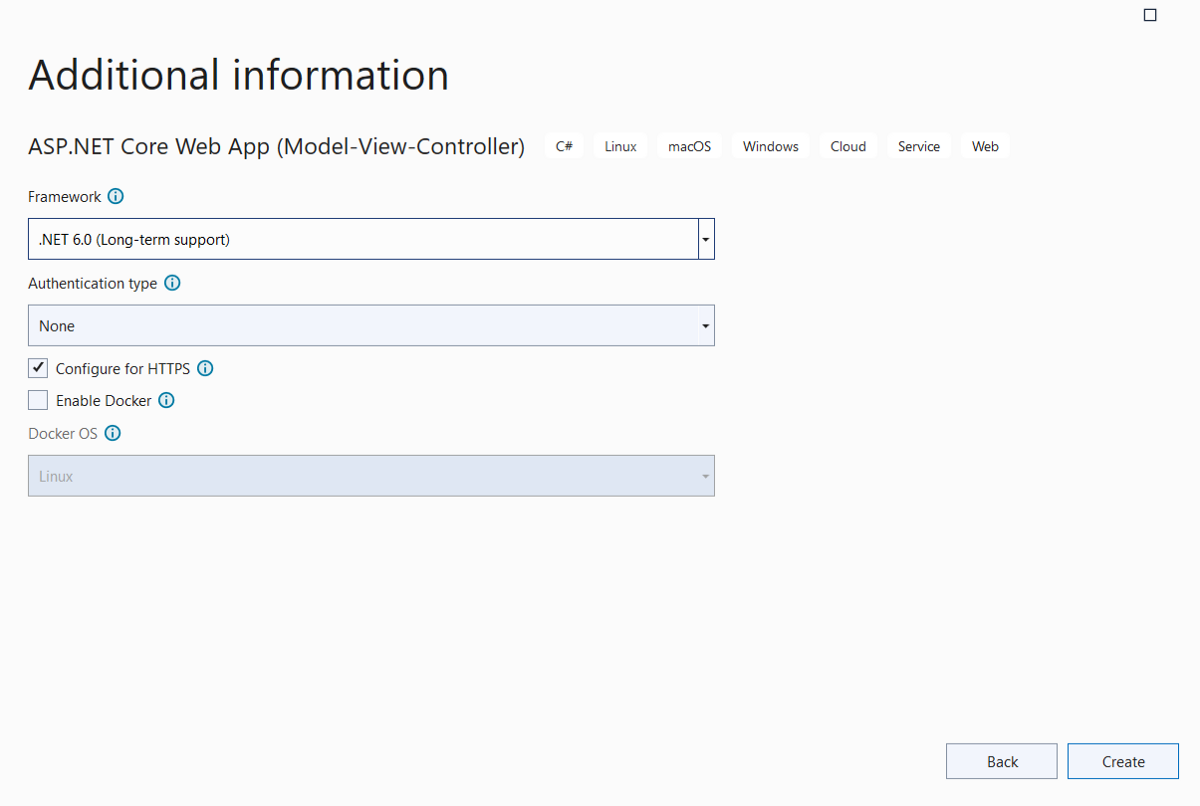
Here, I am using .NET 6 LTS version. Once you have provided all the information, just press the create button.
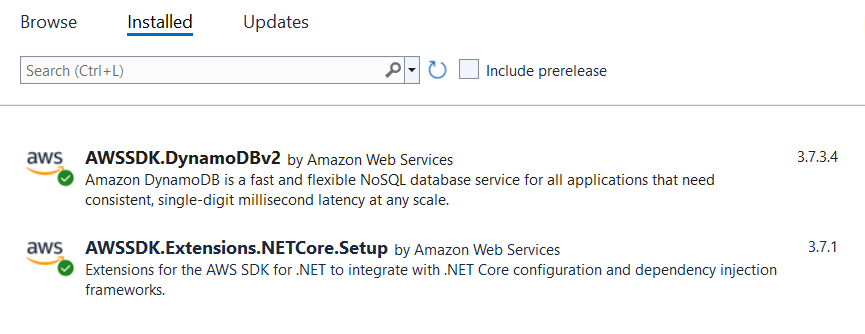
Now you have to install the following NuGet packages to use DynamoDB services in .NET.
AWSSDK.Extensions.NETCore.Setup` to set up dependency injection for AWS Service Clients. AWSSDK.DynamoDBv2 to perform DynamoDB related operations.PM> Install-Package Amazon.Extensions.NETCore.Setup
PM> Install-Package AWSSDK.DynamoDBv2
In this picture, you can see we have installed above mentioned NuGet packages.
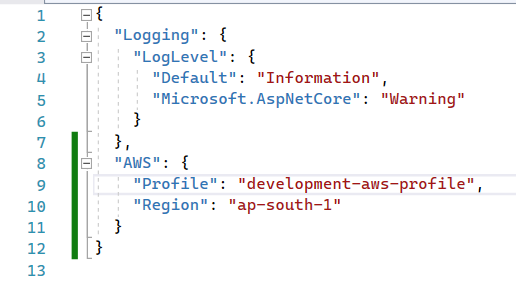
Go to your appsettings.Development.json file, and provide your local AWS credential profile information there in the below format.
{
    "AWS": {
    "Profile": "<aws-credential-profile-name>",
    "Region": "ap-south-1"
    }
}
Your appsettings.Development.json file should look like the below:
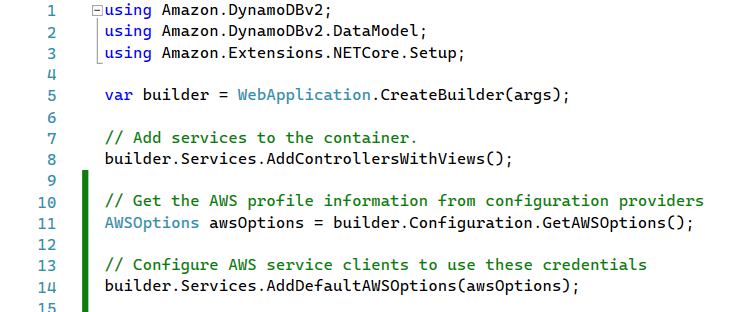
Now, go to the Program.cs file and add the below code. This will read AWS credential profile information from the configuration file and load it into AWS SDK.
// Get the AWS profile information from configuration providers
AWSOptions awsOptions = builder.Configuration.GetAWSOptions();

// Configure AWS service clients to use these credentials
builder.Services.AddDefaultAWSOptions(awsOptions);
Program.cs file will look like this after adding the above code.
Check out my other blog Understanding Credential Loading in AWS SDK for .NET to understand how AWS SDK loads credentials in different environments.
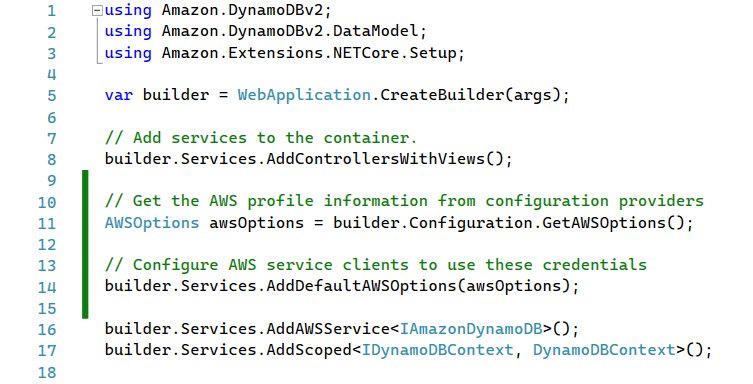
Copy and paste the below lines in your Program.cs to configure dependency injection.
builder.Services.AddAWSService<IAmazonDynamoDB>();
builder.Services.AddScoped<IDynamoDBContext, DynamoDBContext>();
Program.cs file will look like this after adding above code.
Create an entity class to represent your DynamoDB table. Also, decorate this class with proper attributes.
using Amazon.DynamoDBv2.DataModel;

namespace AWS.Demo.DynamoDB.Models
{
    [DynamoDBTable("products")]
    public class Product
    {
        [DynamoDBHashKey("category")]
        public string Category { get; set; }

        [DynamoDBRangeKey("name")]
        public string Name { get; set; }

        [DynamoDBProperty("description")]
        public string Description { get; set; }

        [DynamoDBProperty("price")]
        public decimal Price { get; set; }
    }
}
Now, create an API Controller in your ASP.NET Core application and write the code to perform CRUD operations with the DynamoDB table.
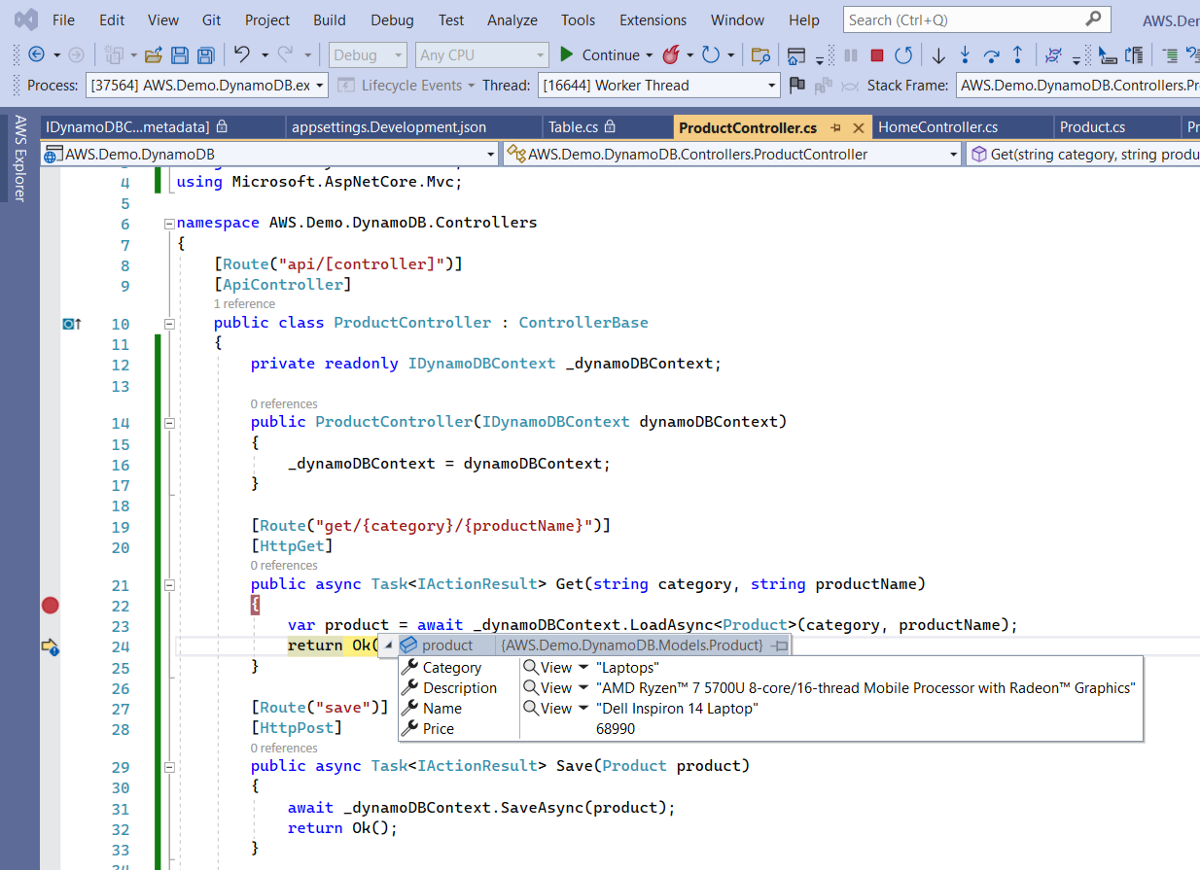
Here is the code that I wrote for ProductController.cs file.
using Amazon.DynamoDBv2.DataModel;
using Amazon.DynamoDBv2.DocumentModel;
using AWS.Demo.DynamoDB.Models;
using Microsoft.AspNetCore.Mvc;

namespace AWS.Demo.DynamoDB.Controllers
{
    [Route("api/[controller]")]
    [ApiController]
    public class ProductController : ControllerBase
    {
        private readonly IDynamoDBContext _dynamoDBContext;

        public ProductController(IDynamoDBContext dynamoDBContext)
        {
            _dynamoDBContext = dynamoDBContext;
        }

        [Route("get/{category}/{productName}")]
        [HttpGet]
        public async Task<IActionResult> Get(string category, string productName)
        {
            // LoadAsync is used to load single item
            var product = await _dynamoDBContext.LoadAsync<Product>(category, productName);
            return Ok(product);
        }

        [Route("save")]
        [HttpPost]
        public async Task<IActionResult> Save(Product product)
        {
            // SaveAsync is used to put an item in DynamoDB, it will overwite if an item with the same primary key already exists
            await _dynamoDBContext.SaveAsync(product);
            return Ok();
        }

        [Route("delete/{category}/{productName}")]
        [HttpDelete]
        public async Task<IActionResult> Delete(string category, string productName)
        {
            // DeleteAsync is used to delete an item from DynamoDB
            await _dynamoDBContext.DeleteAsync<Product>(category, productName);
            return Ok();
        }

        [Route("search/{category}")]
        [HttpGet]
        public async Task<IActionResult> Search(string category, string? productName = null, decimal? price = null)
        {
            // Note: You can only query the tables that have a composite primary key (partition key and sort key).

            // 1. Construct QueryFilter
            var queryFilter = new QueryFilter("category", QueryOperator.Equal, category);

            if (!string.IsNullOrEmpty(productName))
            {
                queryFilter.AddCondition("name", ScanOperator.Equal, productName);
            }

            if (price.HasValue)
            {
                queryFilter.AddCondition("price", ScanOperator.LessThanOrEqual, price);
            }

            // 2. Construct QueryOperationConfig
            var queryOperationConfig = new QueryOperationConfig
            {
                Filter = queryFilter
            };

            // 3. Create async search object
            var search = _dynamoDBContext.FromQueryAsync<Product>(queryOperationConfig);

            // 4. Finally get all the data in a singleshot
            var searchResponse = await search.GetRemainingAsync();

            // Return it
            return Ok(searchResponse);
        }
    }
}
I tested these APIs using Visual Studio Code Rest Client extension. I have also copied the content of my api-testing.http file below. You can use the same to test at your end.
### Get products by category
GET https://localhost:7029/api/product/search/Laptops

### Search products
GET https://localhost:7029/api/product/search/Laptops?price=68999 HTTP/1.1

### Get a single product
GET https://localhost:7029/api/product/get/Laptops/Dell Inspiron 14 Laptop HTTP/1.1

### Add or update a new product
POST https://localhost:7029/api/product/save HTTP/1.1
content-type: application/json

{
    "category": "Laptops",
    "name": "Dell Inspiron 14 Laptop",
    "description":"AMD Ryzen™ 7 5700U 8-core/16-thread Mobile Processor with Radeon™ Graphics",
    "price": 68990
}

### Delete single product
DELETE  https://localhost:7029/api/product/delete/Laptops/Dell Inspiron 14 Laptop HTTP/1.1
Here is a screenshot that I took during the testing.
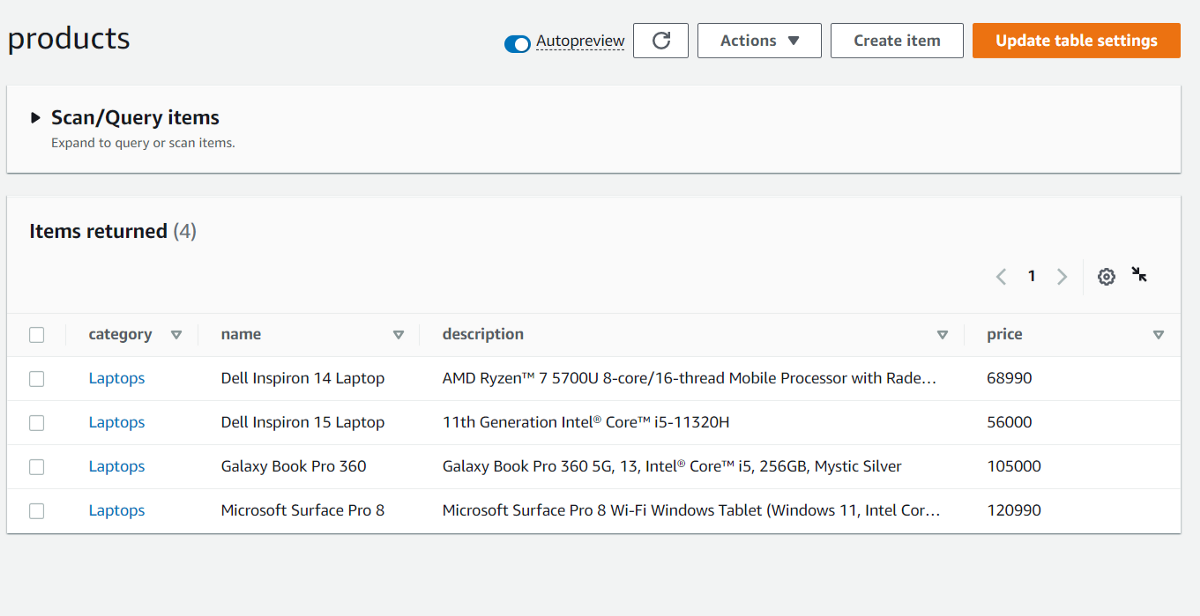
Now go to the AWS console, select table, and hit the scan button to view all the data.
That's all.
In this post, we learned how can we easily get started with DynamoDB using ASP.NET Core applications. Please let me know your thoughts and feedback in the comment section below.
Thank You ❤️