Disclaimer: I am a consultant at Amazon Web Services, and this is my personal blog. The opinions expressed here are solely mine and do not reflect the views of Amazon Web Services (AWS). Any statements made should not be considered official endorsements or statements by AWS.
In this post, we will understand how can we deploy an ASP.NET Core application on an Amazon Linux 2 EC2 instance step by step.
In the first step, you have to create an Amazon Linux 2 EC2 instance. Though, in this post, we won't focus much on creating a Linux EC2 instance step by step. But there are certain things that you must know while provisioning the EC2 instance.
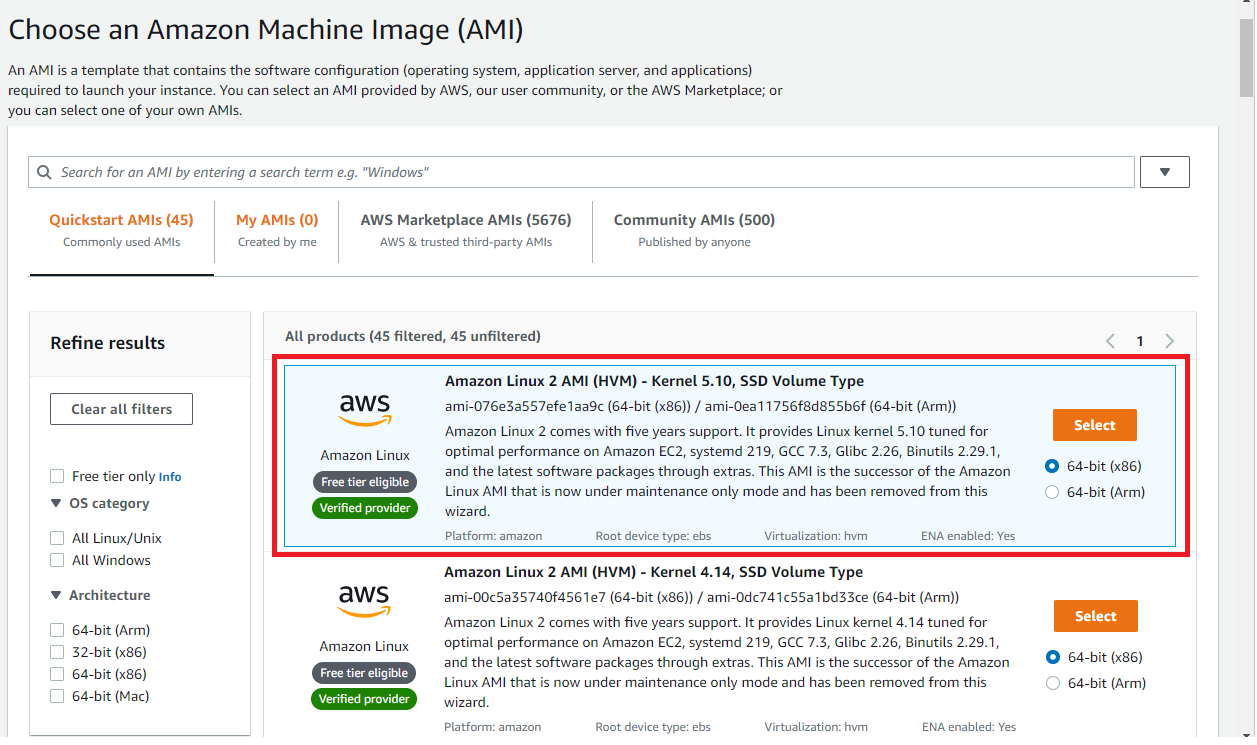
Select the Amazon Linux 2 AMI as shown in the below picture. For CPU architecture, you can choose either x86 or ARM. In this post, I have chosen x86 as ARM instances were not available in t2 or t3 instance family.
There are a lot of Linux distributions such as:
Microsoft has published documentation on how to install .NET Core on each of these distributions.
To install the .NET Core runtime, you first have to check the Linux Distribution used by Amazon Linux 2.
Run the below command using SSH to check the Linux distribution.
cat /etc/os-release
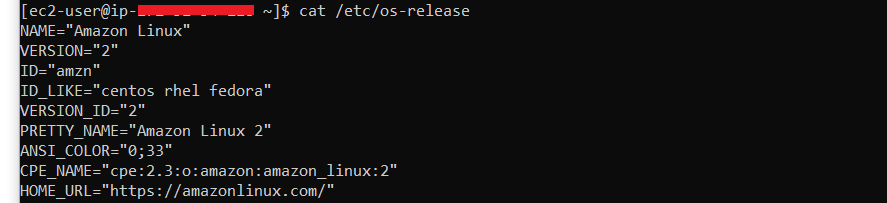
As you can see, the above command outputs ID_LIKE property with centos rhel fedora value. Considering this AMI similar to CentOS, we can proceed further installing .NET Core on Linux CentOS distribution.
To know more about ID_LIKE property, please refer this link.
In this step, we will be following the documentation from Microsoft website to install the .NET Runtime on CentOS.
Before you install .NET Core Runtime, run the following command. This will add the Microsoft package signing key to the list of trusted keys and add the Microsoft package repository.
sudo rpm -Uvh https://packages.microsoft.com/config/centos/7/packages-microsoft-prod.rpm
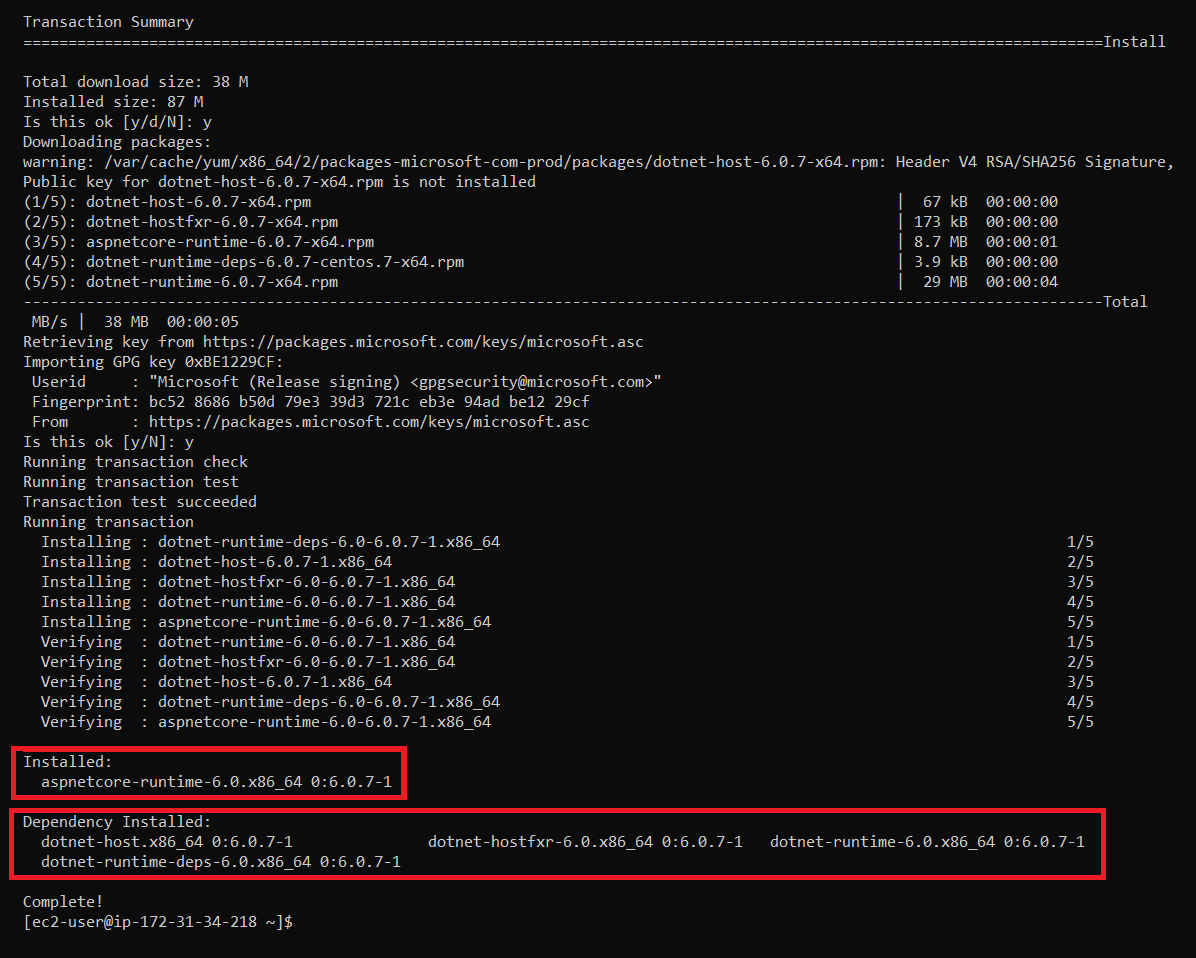
Next, run the below command to install ASP.NET Core 6 Runtime.
sudo yum install aspnetcore-runtime-6.0
You can see below, that ASP.NET Core 6 Runtime has been installed successfully.
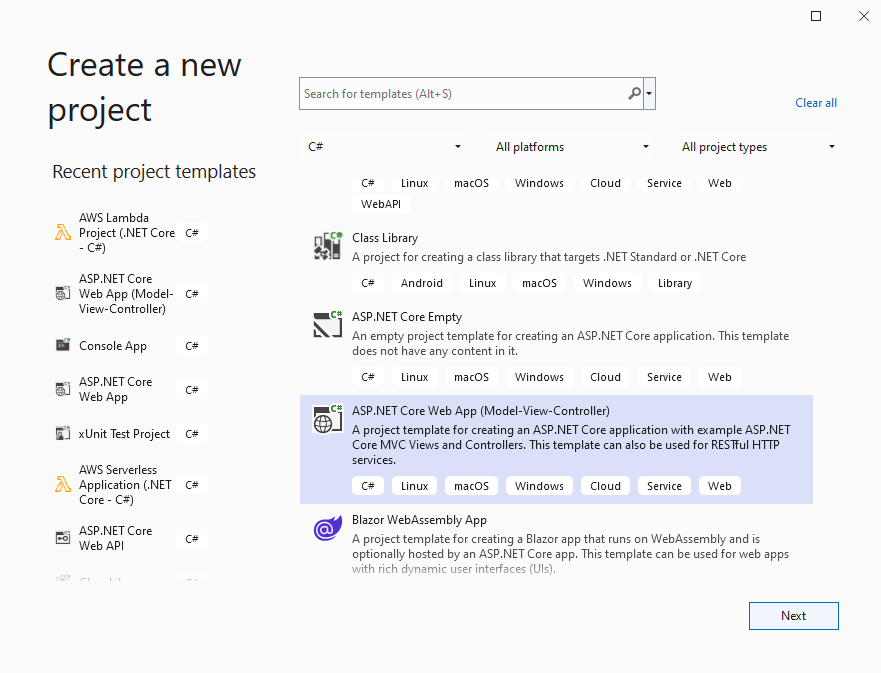
Let's create a new sample application. Here, I am creating an MVC application.
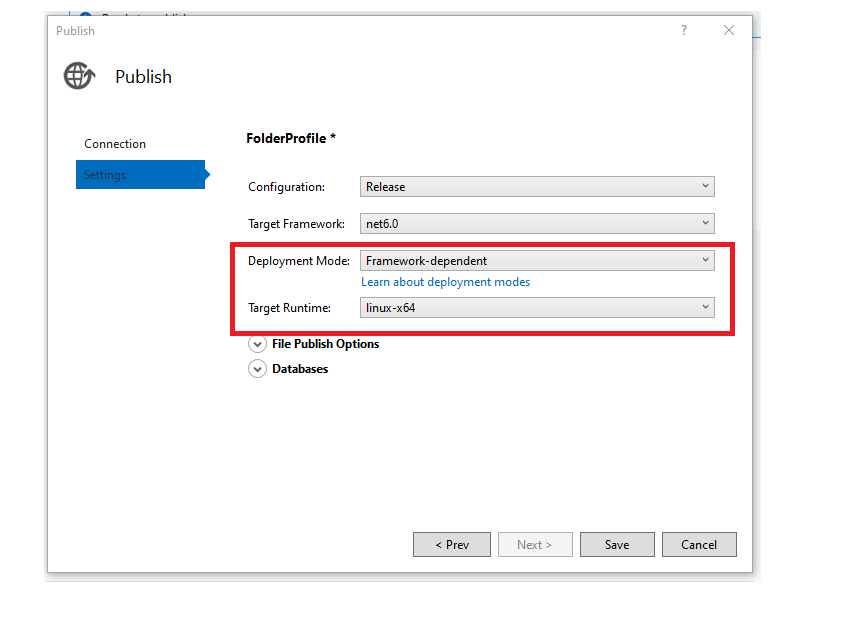
While publishing, make sure the deployment mode is Framework dependent, and Target Runtime is linux-64.
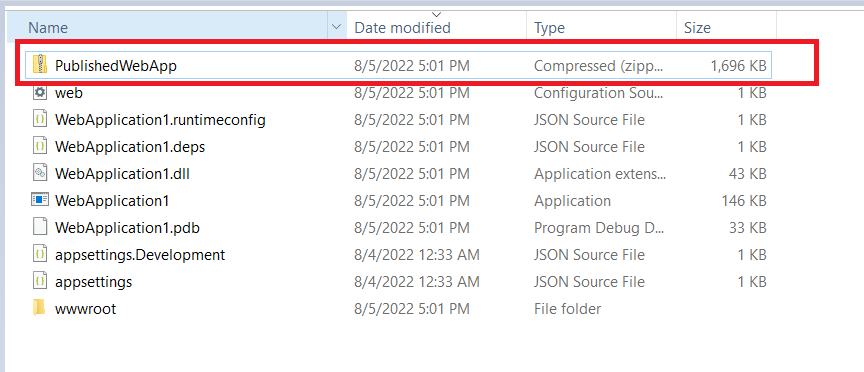
Create a Zip file of the published content as shown in the below picture.
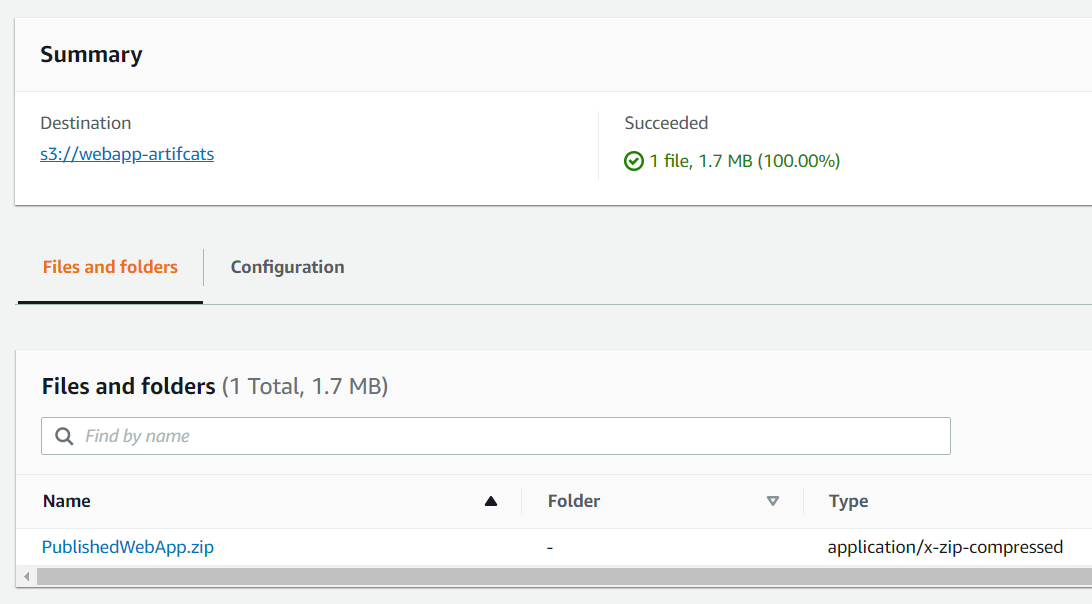
Upload this Zip file to S3 bucket.
SSH to the EC2 and run the below commands to create a directory for your web application.
// go to root
cd /

// create wwwroot directory, you can choose anyname instead of wwwroot
sudo mkdir wwwroot

// move to newly created directory
cd wwwroot

// create another directory inside wwwroot
sudo mkdir my-mvc-app
Create a pre-signed URL by selecting the zip file from the console.

Before you proceed further, make sure your current working directory is /wwwroot/my-mvc-app, as you will be downloading the zip file and unzipping it there only.
Run the below command to download the zip file in the current working directory.
sudo wget -O "PublishedWebApp.zip" "https://{pre-signed-url}"
Run the below command to unzip the published web app.
sudo unzip PublishedWebApp.zip
Run the below command to view unzipped files of the MVC web application.
ls
See the below screenshot, all the files are now present inside /wwwroot/my-mvc-app directory.

In this step, you will be running the application without creating a linux service. Though, it is not the recommended way to host a Web Application without creating a service, as your application process will be lost if the linux instance restarts due to any reason. Creating a Linux Service for the application guarantees that a Web App will be up and running when the system re-starts.
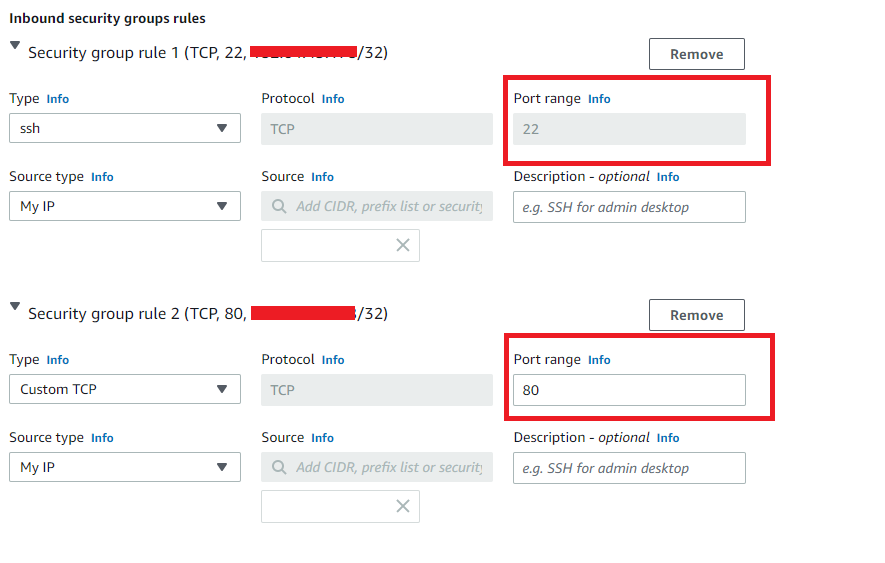
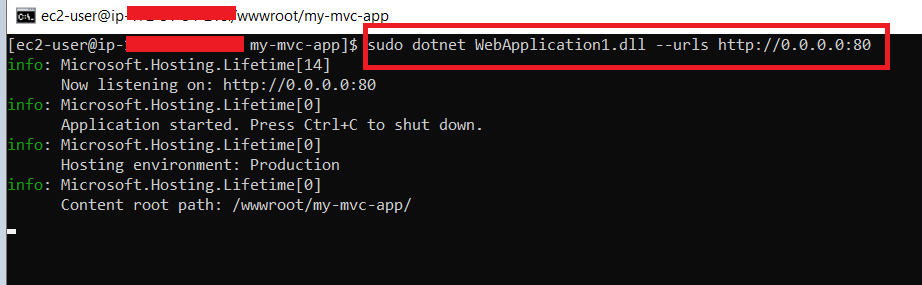
Hit the below command to run the ASP.NET Core application on port 80.
sudo dotnet WebApplication1.dll --urls http://0.0.0.0:80
See the below screenshot.
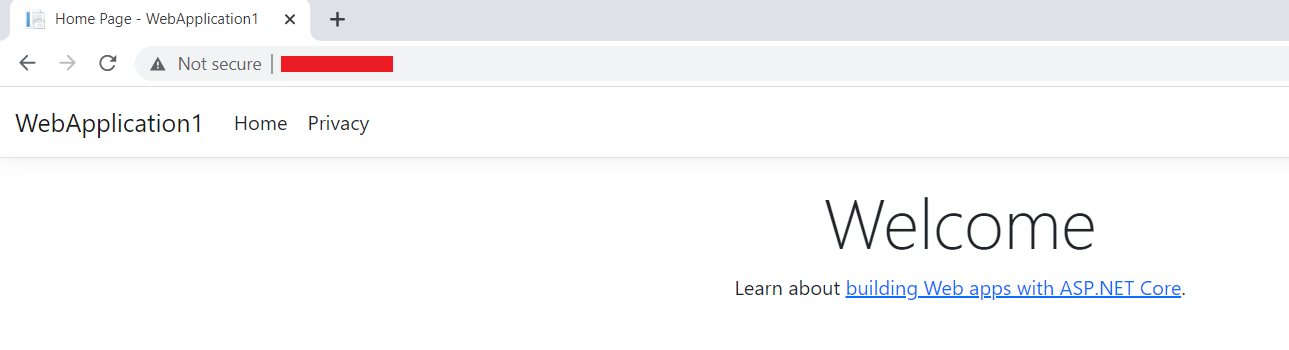
Visit the public IP of EC2, you can see the app is up and running.
Running a web-app as a Linux service ensures that web-app will be up and running always as the Linux service restarts automatically after a reboot or crash using systemd.
Create the service definition file:
sudo nano /etc/systemd/system/mymvcapp.service
You can find running Linux service under path /etc/systemd/system.
Next, copy the below content in this service file.
[Unit]
Description=Example of ASP.NET Core MVC App running on Amazon Linux

[Service]
WorkingDirectory=wwwroot/my-mvc-app
ExecStart=/usr/bin/dotnet /wwwroot/my-mvc-app/WebApplication1.dll --urls "http://0.0.0.0:80"
Restart=always
RestartSec=10
KillSignal=SIGINT
SyslogIdentifier=my-mvc-app
Environment=ASPNETCORE_ENVIRONMENT=Production

[Install]
WantedBy=multi-user.target
Now, start the service.
sudo systemctl enable mymvcapp.service
sudo systemctl start mymvcapp.service
sudo systemctl status mymvcapp.service
The above command will start the service, and the service will start the ASP.NET Core app with the Kestrel server that is listening to the port 80. You can now try accessing the app from public IP.
See below screenshot of the running active service.

To redeploy your app with the changes, you need to stop the service, replace the DLLs, and start the service again. You can use the following commands to stop and start the service again.
sudo systemctl stop mymvcapp.service
sudo systemctl start mymvcapp.service
sudo systemctl status mymvcapp.service
In this post, we understood how easily we can deploy an ASP.NET Core application on an Amazon Linux 2 EC2 instance. Please let me know your thoughts and feedback in the comment section below.
Thank You ❤️