Disclaimer: I am a consultant at Amazon Web Services, and this is my personal blog. The opinions expressed here are solely mine and do not reflect the views of Amazon Web Services (AWS). Any statements made should not be considered official endorsements or statements by AWS.
In this post, we will understand how can we create a Virtual Machine in Azure inside a Virtual Network (VNET).
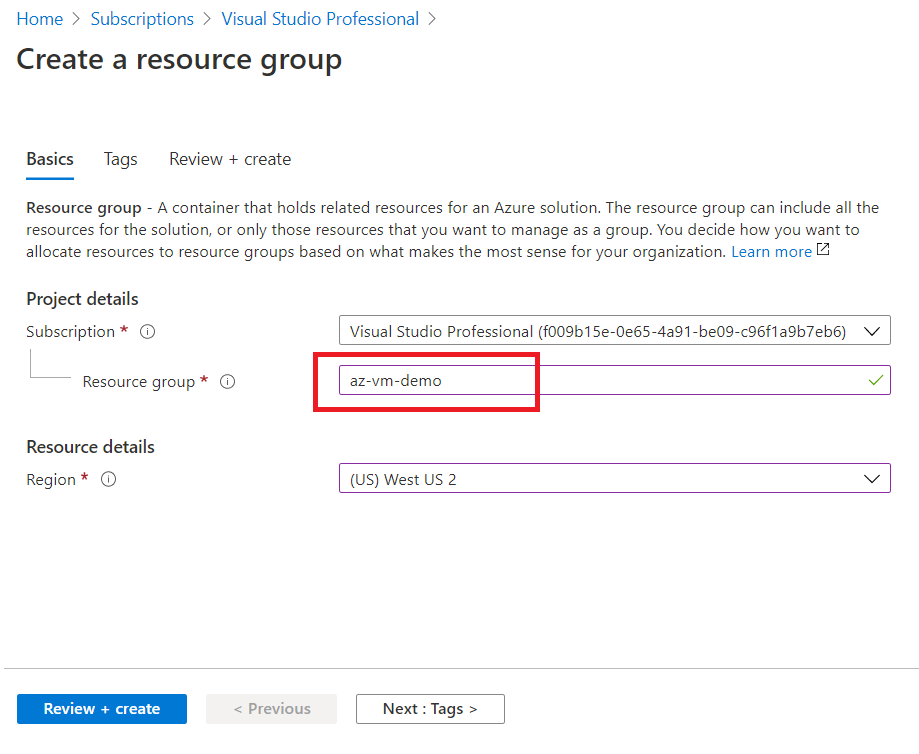
First, create a new resource group in Azure. We will be using the same resource group for creating further resources in this tutorial.
In Azure, Resource Group acts as a logical container for other Azure resources.
Next, we will create a Virtual Network (VNET) as we can't create a VM without a VNET in Azure. So, we will first create a VNET and later put our VM inside that VNET.
Good to know:
- A VNET can have multiple subnets.
- Create a Subnet to divide a VNET into multiple sub-networks.
- In Azure, while creating a VNET, a default subnet is created automatically.
Create a VNET in the same Resource Group (RG). See the below picture, we have used the same RG that we created above.
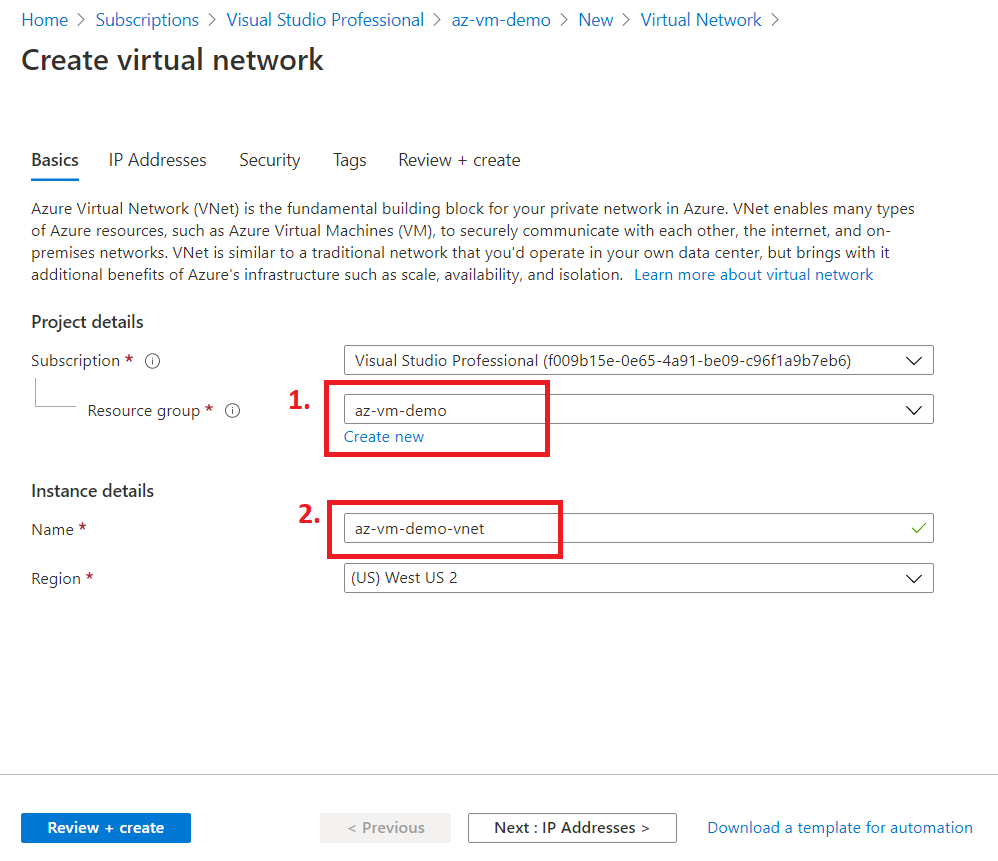
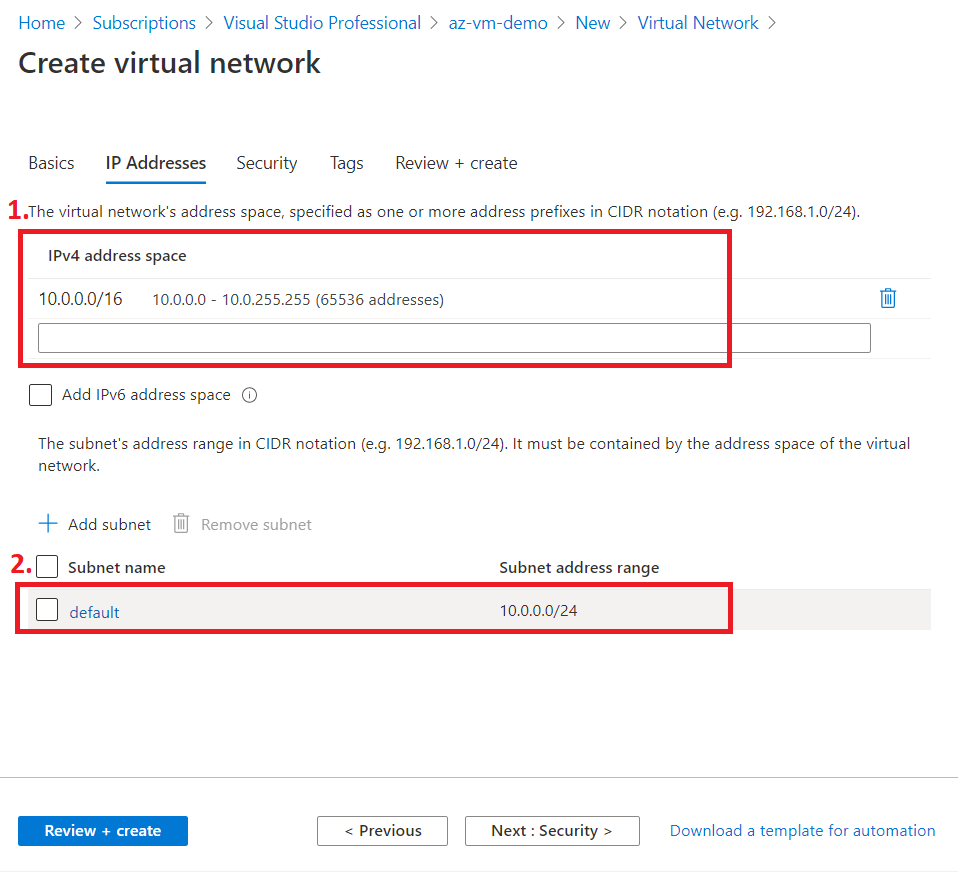
Move on to the next tab IP Addresses. Here you will get the following things:
We won't modify anything here, and will go with the defaults.
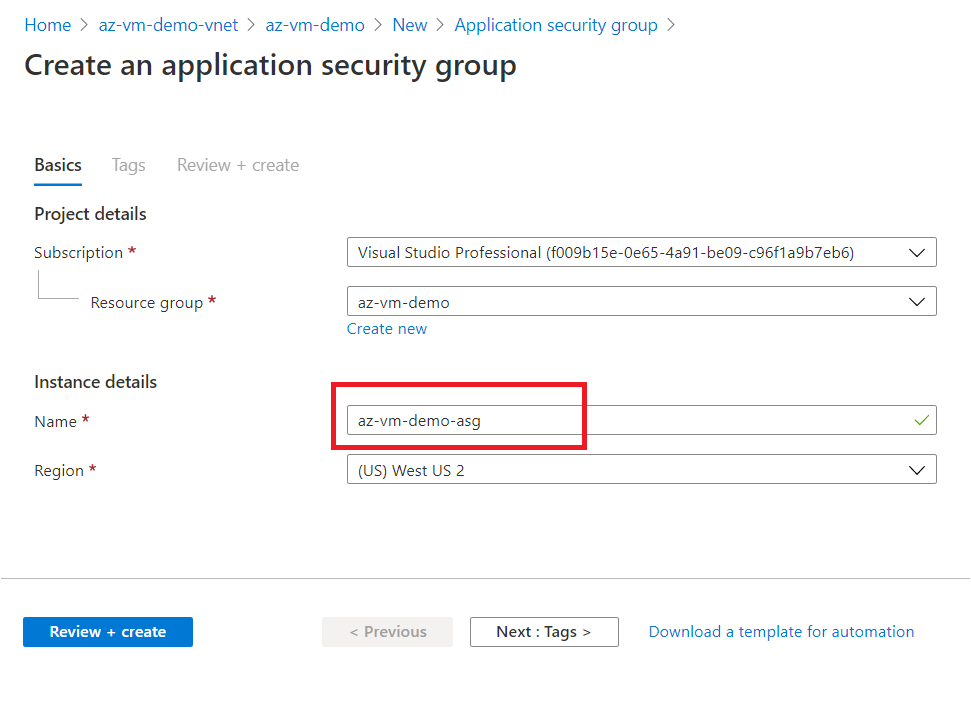
Create an Application Security Group (ASG) in the same RG.
Good to know:
Purpose of creating an ASG is to get more control over security policy.
For example, you have 6 VMs in your resource group. Out of those, 3 belongs to frontend and 3 belongs to backend.
- Now, you can create 2 ASGs, one for each i.e. Frontend-ASG & Backend-ASG.
- You can attach these ASGs to respective category Virtual Machine's Network Interface Card.
- Later, you can create 2 different NSGs with different security rules.
- Finally, you can attach frontend NSG <> Frontend-ASG & backend NSG <> Backend-ASG.
This ways, ASG provides you more flexibility to logically group your Azure Resources as per their nature or role, and also enables you to apply NSG or security rules at more granular level.
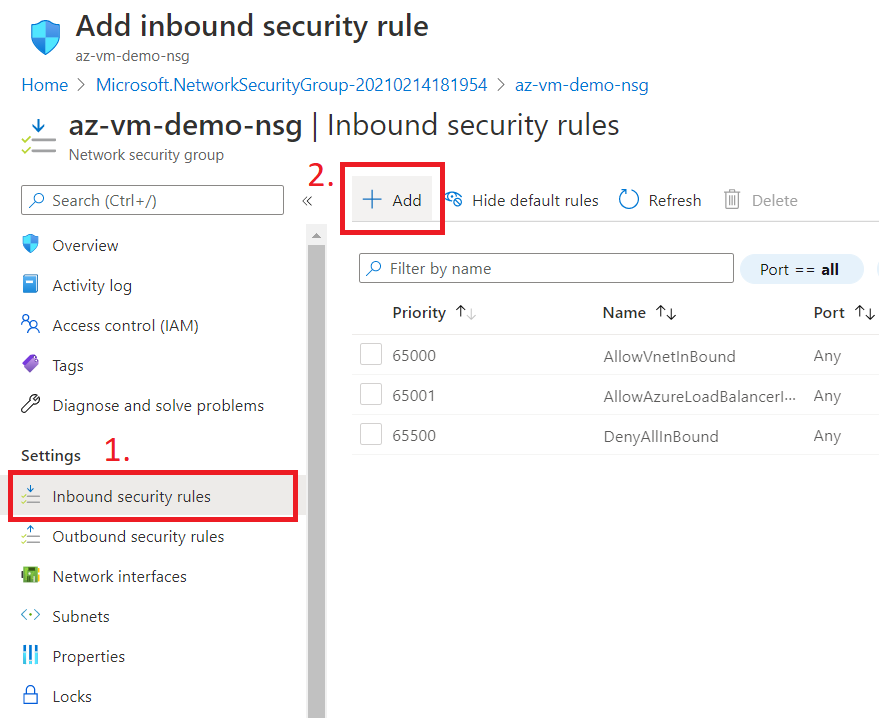
Next, we will create an NSG that will allow 3389 port for remote desktop access.

Click on Inbound Security rules on the left blade and click on Add button.
Now, select Application Security Group and allow port 3389 as shown below.
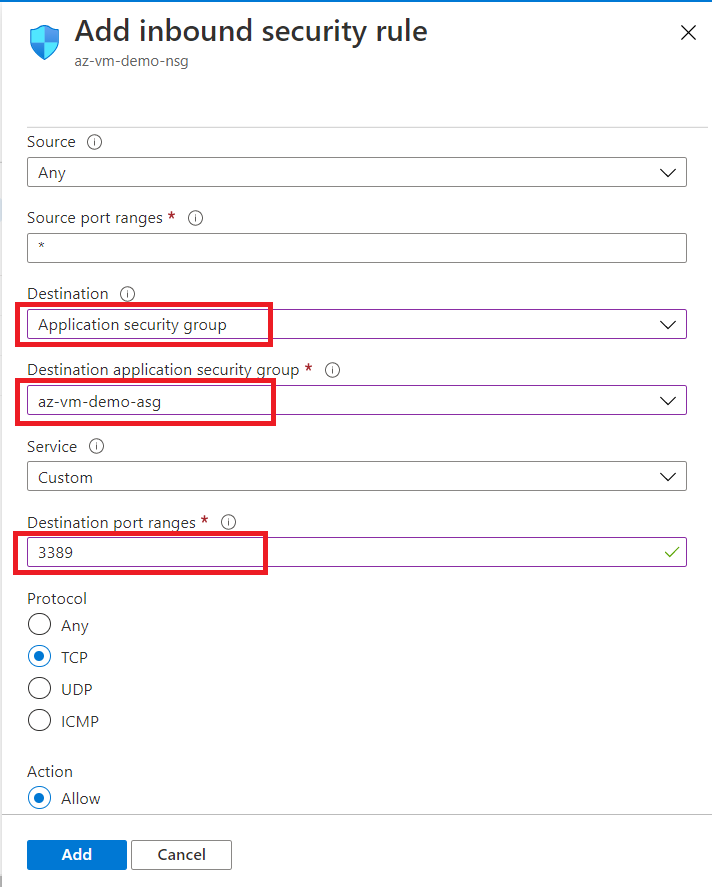
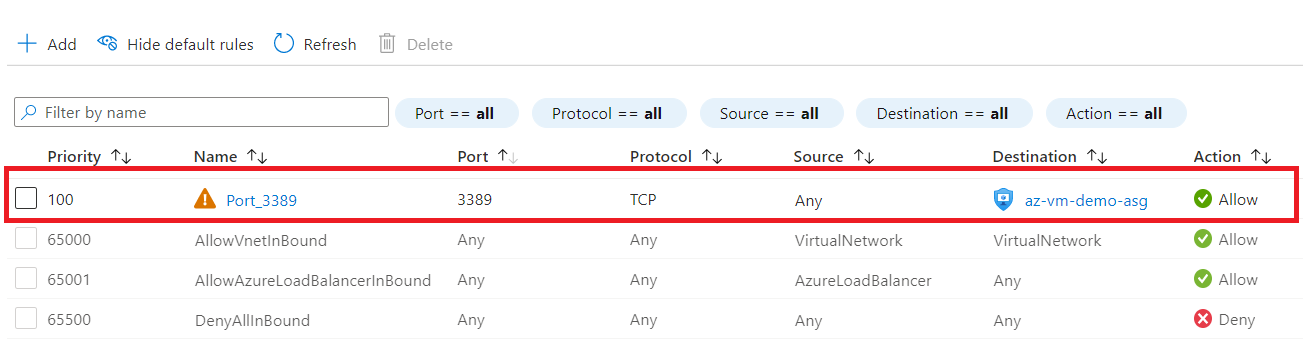
You can see that a rule for remote desktop access is now added to the inbound rules. This will allow RDP access to only those Virtual Machines (Network Interface more specifically) which are part of the selected ASG.
A Network Interface Card (NIC) is a component without which a computer can not be connected over a network. NIC acts as a bridge between a computer and a computer-network.
Now, attach the NSG that we created above to the subnet.
Remember, we can either attach an NSG to a Subnet level or an NIC level.

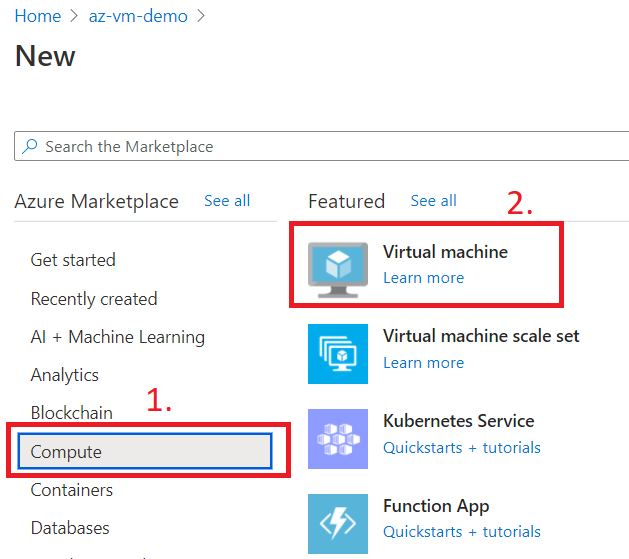
Now, we will create a Virtual Machine step by step by following the wizard.
Go to the Compute and select Virtual Machine.
Fill out basic information as given below. Remember, to keep the RG same.

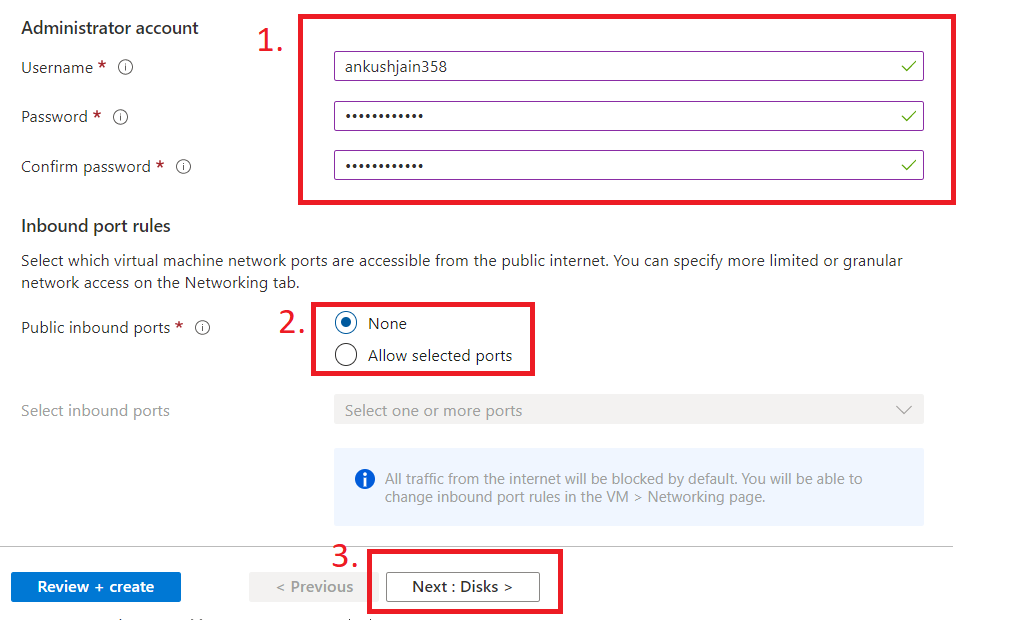
Next, fill out the username and password for the VM. Also, select None in public inbound ports, because, if you allow inbound ports from here, then it will create a new NSG, and we don't want that as we have already created one.
Next tab, Disks, select Premium SSD.

Next tab, Networking
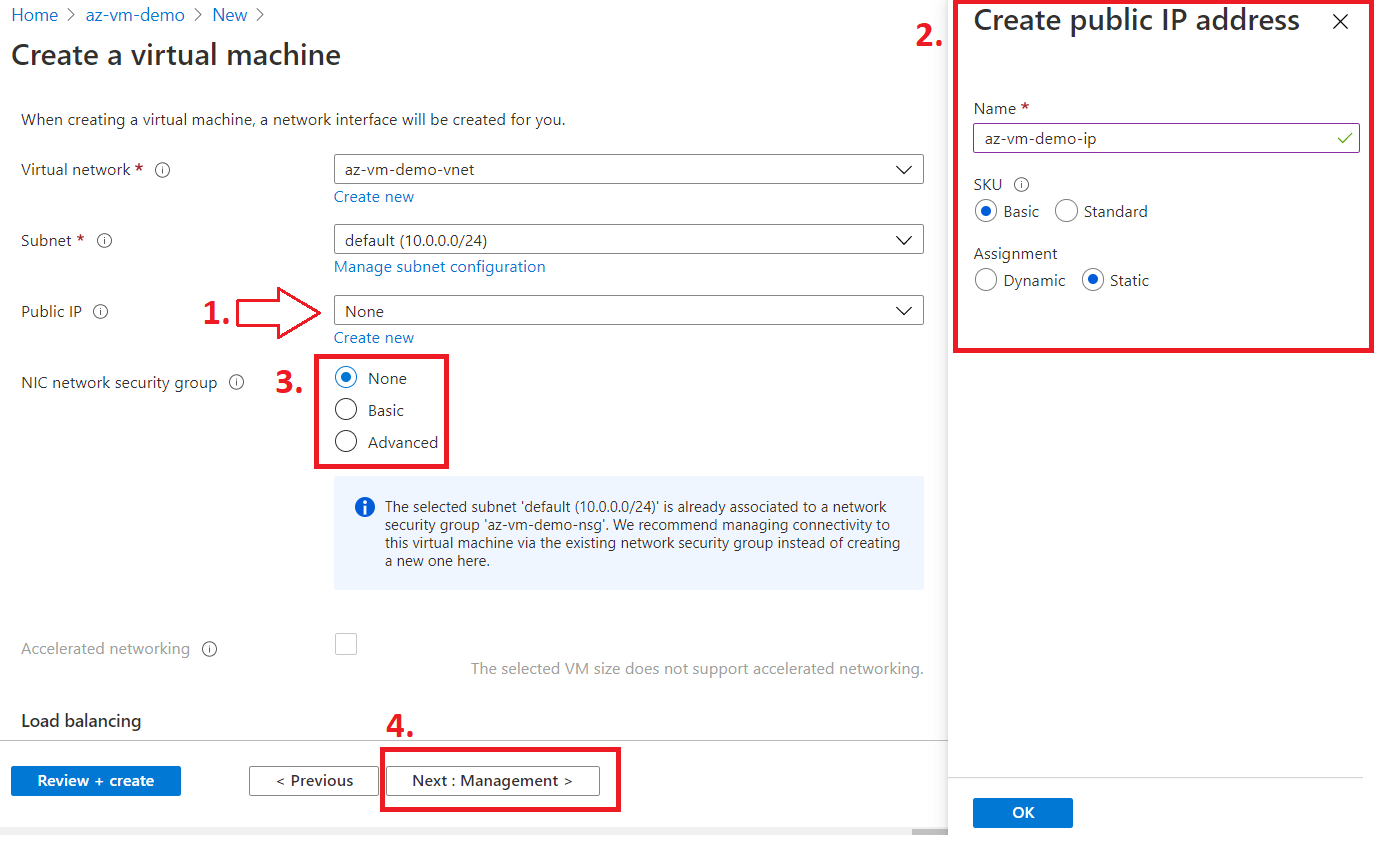
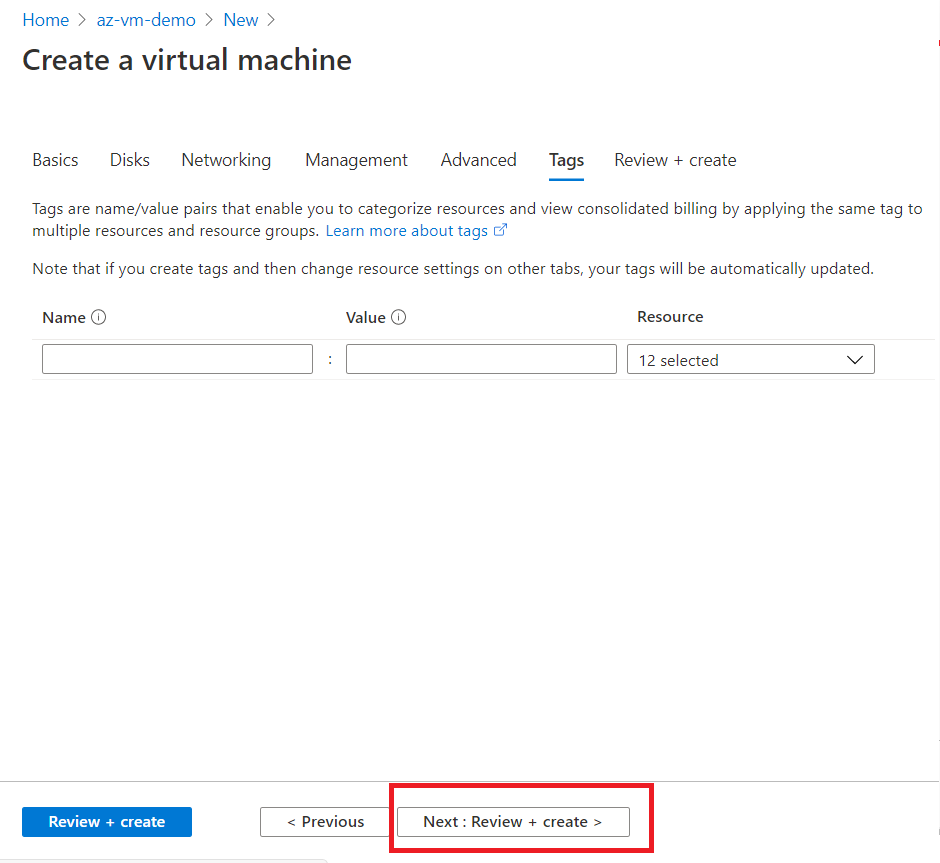
Now click next, next and press Review + Create in the last tab.
After successful validation, click on create button.

Once the Virtual Machine is provisioned successfully, you will see a screen like the one below.

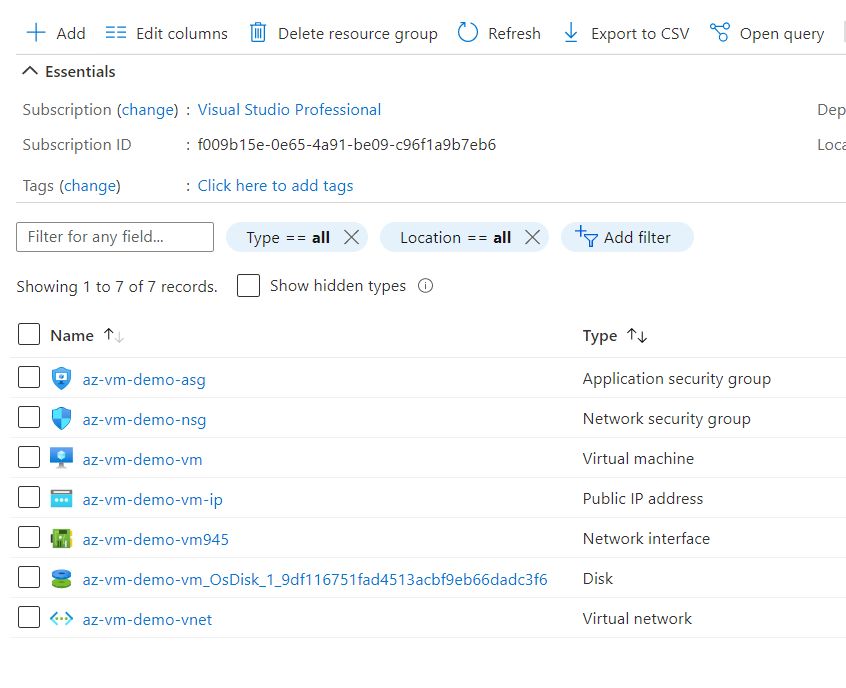
Now, let's go back to our resource group and see how many resources have been created so far. You can see that once you provision a Virtual Machine, a Network Interface Card and OS Disk resource are also provisioned in the background.
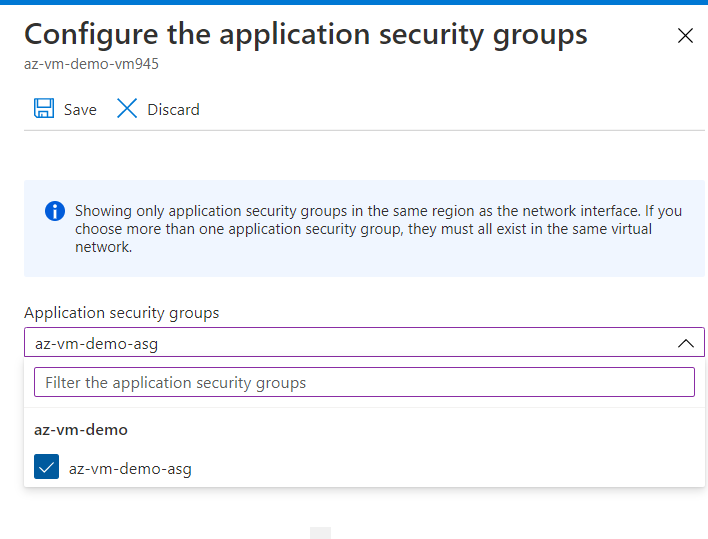
Now, go to the Virtual Machine and Networking tab, and click on configure ASG as per the below picture.
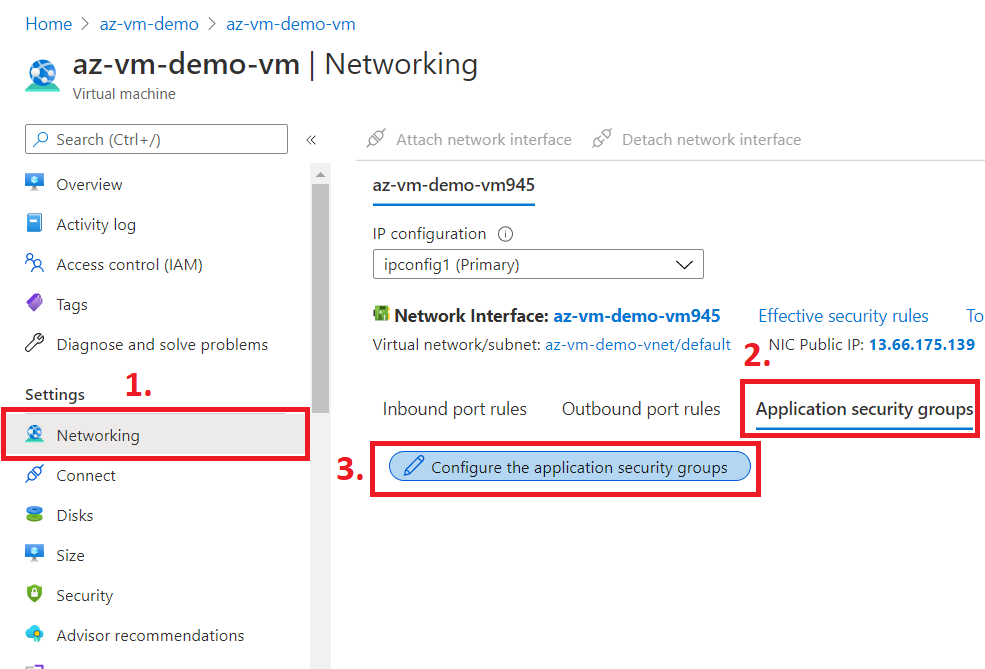
Select the ASG that we created above.
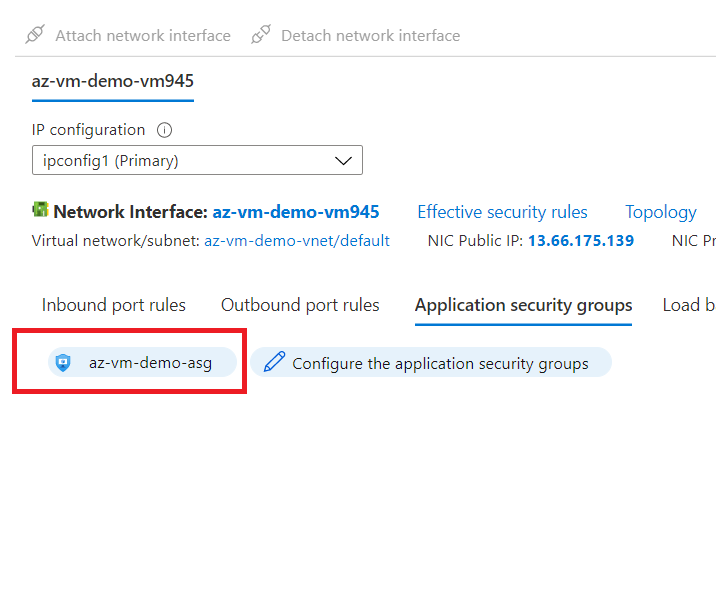
See that the selected ASG is now attached to the NIC of VM.
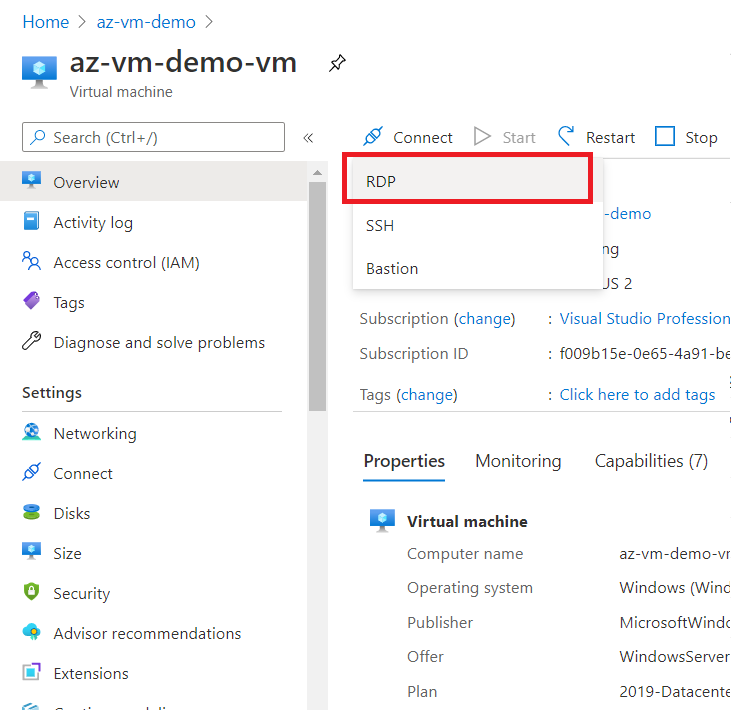
Now, let's go to the Virtual Machine again and click on connect and download RDP file.
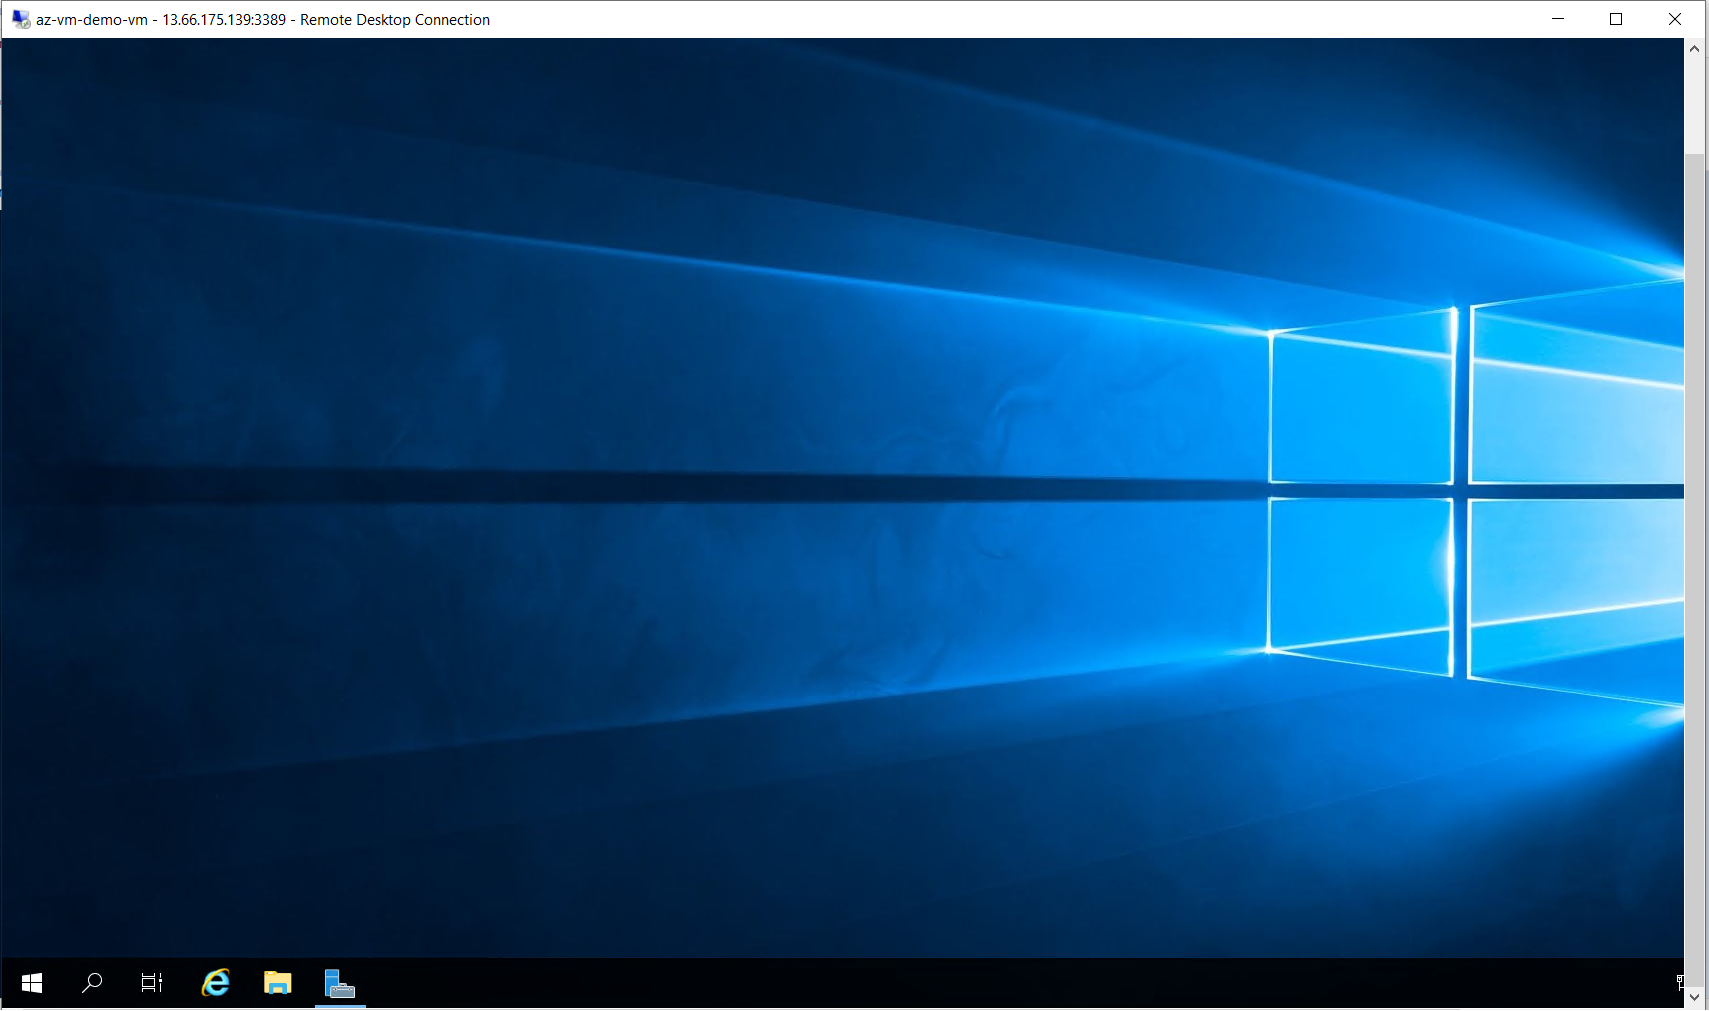
Double click on RDP file and enter the credential that you created in the first step of Wizard.
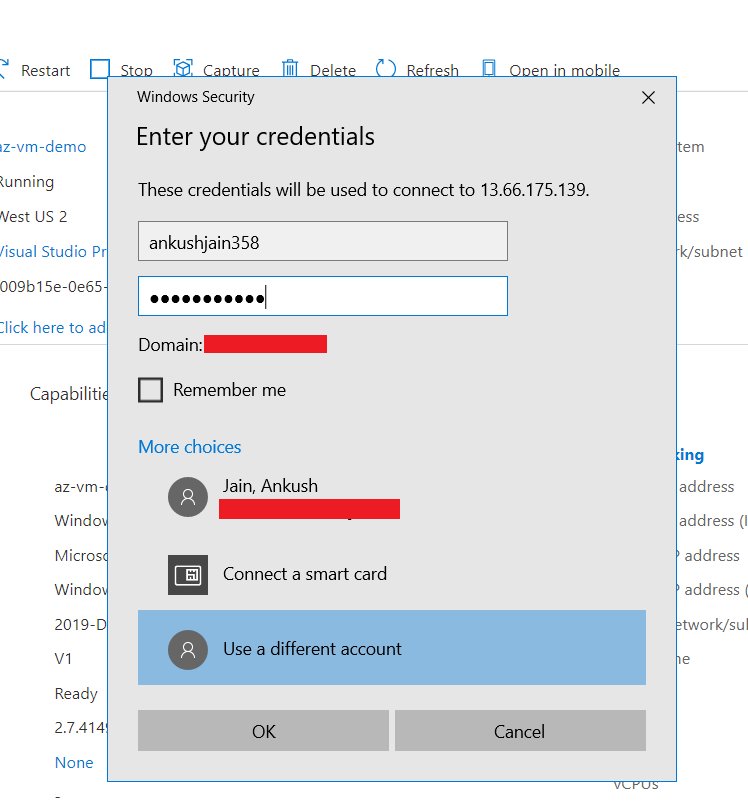
After successful authentication, you will be able to access your VM through RDP.
That's how we created and configured a Virtual Machine step by step in Azure. Also, we understood the concepts of ASG and NSG, and how to leverage them to implement security.