Disclaimer: I am a consultant at Amazon Web Services, and this is my personal blog. The opinions expressed here are solely mine and do not reflect the views of Amazon Web Services (AWS). Any statements made should not be considered official endorsements or statements by AWS.
In this post, we will understand, how to easily get started with CDK in .NET.
CDK stands for Cloud Development Kit. CDK allows developers to provision the resources in the AWS cloud programmatically. CDK supports a variety of programming languages including C#, Java, Python, Go, JavaScript & TypeScript.
Run the below command to install CDK CLI using NPM.
npm install -g aws-cdk
In this step, you will create a CDK App. An App in the CDK represents the entry point for the entire CDK application. The CDK App is composed of one or more Stacks (same as a CloudFormation stack).
The unit of deployment in the AWS CDK is called a stack. All AWS resources defined in a stack, are provisioned as a single unit.
Run the below commands to create a new directory and then change your working directory to the new one.
mkdir cdk-sample-app
cd cdk-sample-app
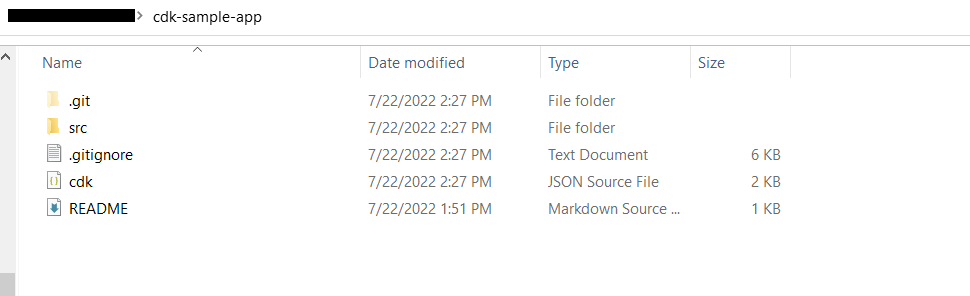
Now, run the below command to quickly generate a basic template to get started. This basic template includes .NET solution with one project.
cdk init app --language csharp
This is what the directory structure looks like.
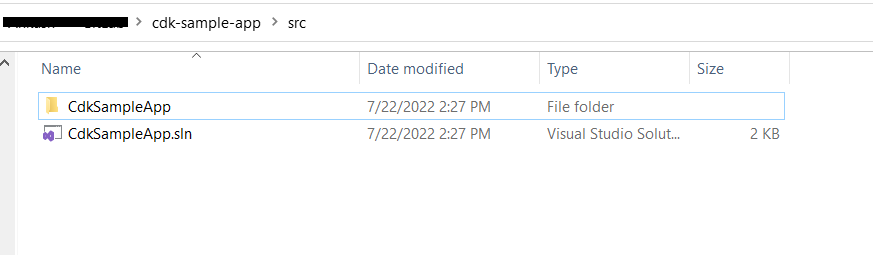
Inside, src folder.
Once you open the solution, you can see the Program.cs file. This contains a CDK App along with one CDK Stack.
You can skip this step if you are using CDKv2.
To check, go to your project's csproj file and look for Amazon.CDK.Lib NuGet package. If it is there, that means you are using CDKv2 and you don't have to install separate NuGet packages for S3, DynamoDB or any other AWS services. With CDKv2, all these modules are included in the Amazon.CDK.Lib package.
Amazon.CDK.Lib NuGet package is not installed)Install the following NuGet packages to create an S3 bucket and DynamoDB table using CDK.
Install-Package Amazon.CDK
Install-Package Amazon.CDK.AWS.S3
Install-Package Amazon.CDK.AWS.DynamoDB
Amazon.CDK is the base package, that must be installed whenever you are working with CDK.
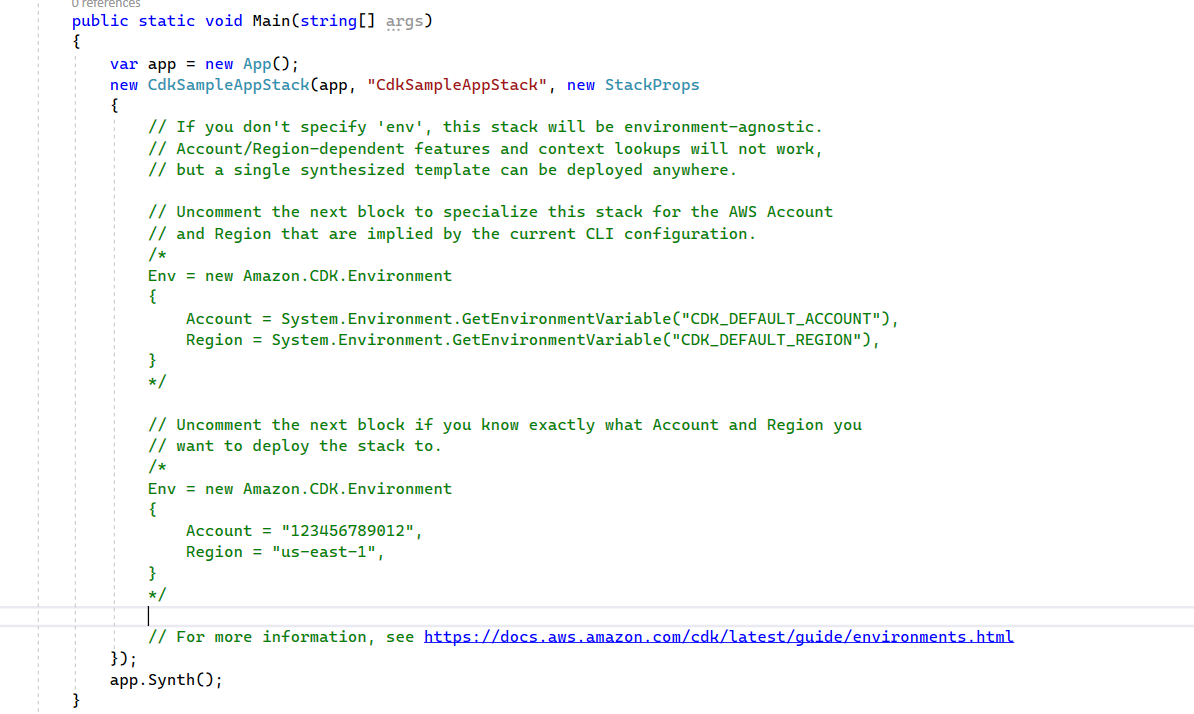
Go to Program.cs and replace the existing code with the below:
public static void Main(string[] args)
{
    var app = new App();
    new CdkSampleAppStack(app, "CdkSampleAppStack");
    app.Synth();
}
Next, go to CdkSampleAppStack.cs file, and replace the code there as per below.
public class CdkSampleAppStack : Stack
{
    internal CdkSampleAppStack(Construct scope, string id, IStackProps props = null) : base(scope, id, props)
    {
        // Create S3 bucket
        new Bucket(this, "MyFirstBucket", new BucketProps
        {
            Versioned = true
        });

        // Create DynamoDB Table
        new Table(this, "MyFirstDynamoDBTable", new TableProps
        {
            PartitionKey = new Attribute { Name = "PK", Type = AttributeType.STRING },
            SortKey = new Attribute { Name = "SK", Type = AttributeType.STRING },
            BillingMode = BillingMode.PAY_PER_REQUEST
        });
    }
}
Run the following command to build this application.
cd src
dotnet build
You need to provision a few AWS resources in advance to deploy a CDK app in an environment. Those resources include:
The process of provisioning these initial resources is called bootstrapping.
Bootstrapping is required only once per environment, where the environment is a combination of the target AWS account & region into which the stack is intended to be deployed.
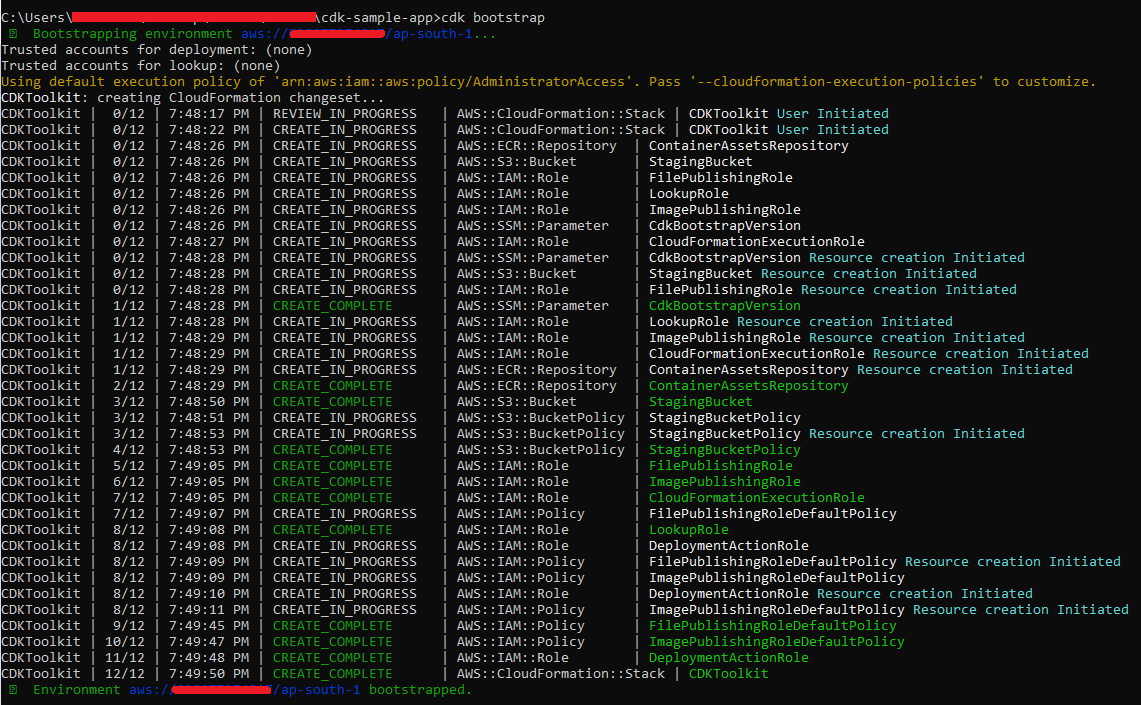
To bootstrap, your AWS environment for CDK deployment, run the below command.
cdk bootstrap
Running the above command will create necessary resources in AWS. See the below screenshot.
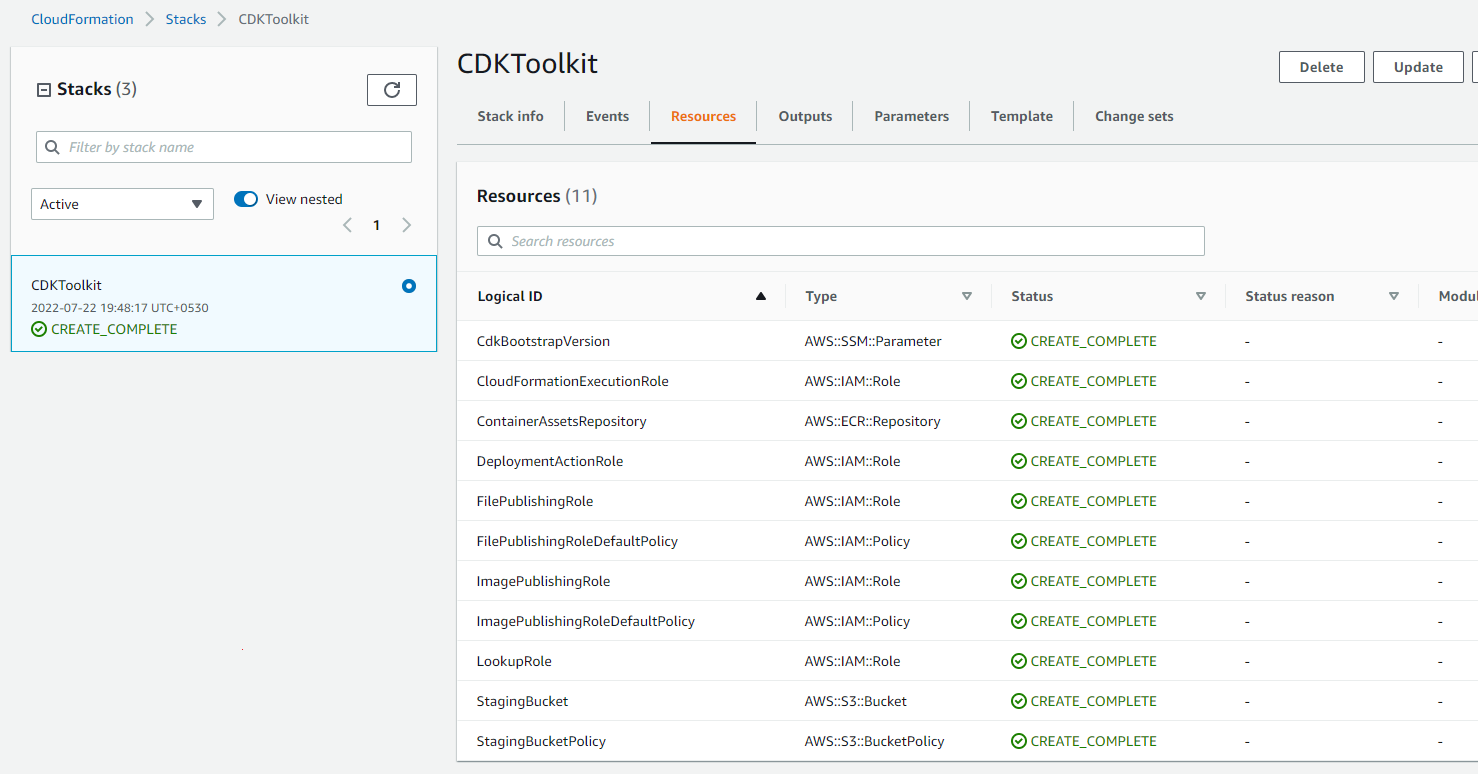
Here is another screenshot of the CDK Stack from AWS Console.
Run the below command to go to the root folder, as you should be on src folder due to the previous step.
bash cd..
Next, run the following command to deploy the CDK stack.
cdk deploy
Running the above command will deploy the entire stack on AWS.
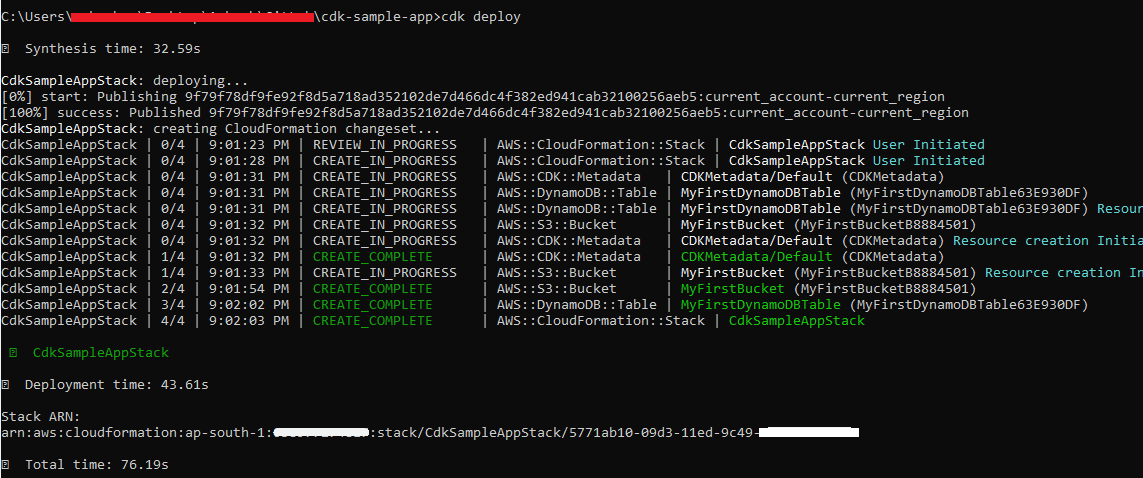
The same, we can verify from AWS Console. See the below screenshot.
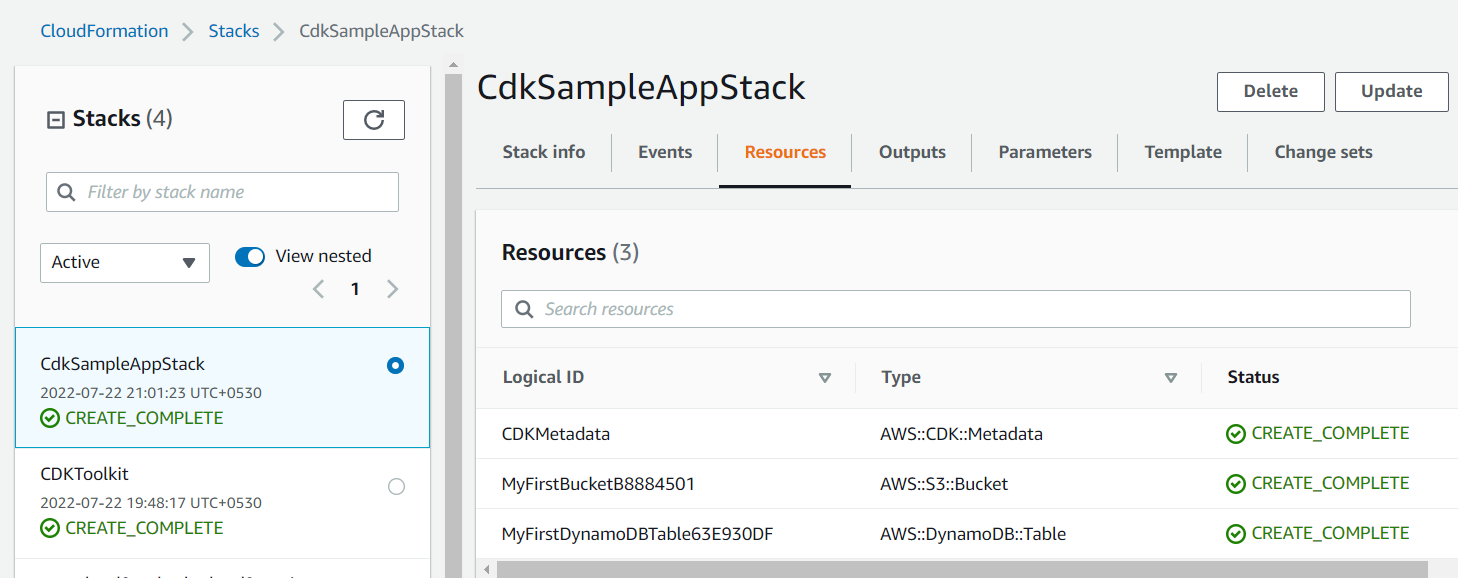
To delete all the resources created by this Stack, just press Delete button shown in the above picture.
dotnet build src compile this app.
cdk deploy deploy this stack to your default AWS account/region.
cdk diff to compare the changes between your currently deployed stack, and the one generated by your code.
cdk init creates a new CDK project in the current directory from a specified template.
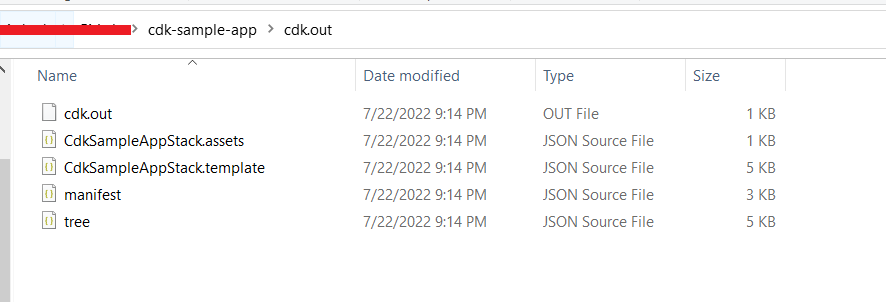
cdk synth command executes your app, which causes the resources defined in it to be translated into an AWS CloudFormation template.
Running cdk synth command will generate JSON templates in cdk.out directory as shown below.
In this post, you learned how easily can you deploy resources programmatically using AWS CDK. Please let me know your thoughts and feedback in the comment section below.
Thank You ❤️